


Christmas Cards Under 10 Minutes
Hey Crafty Souls,
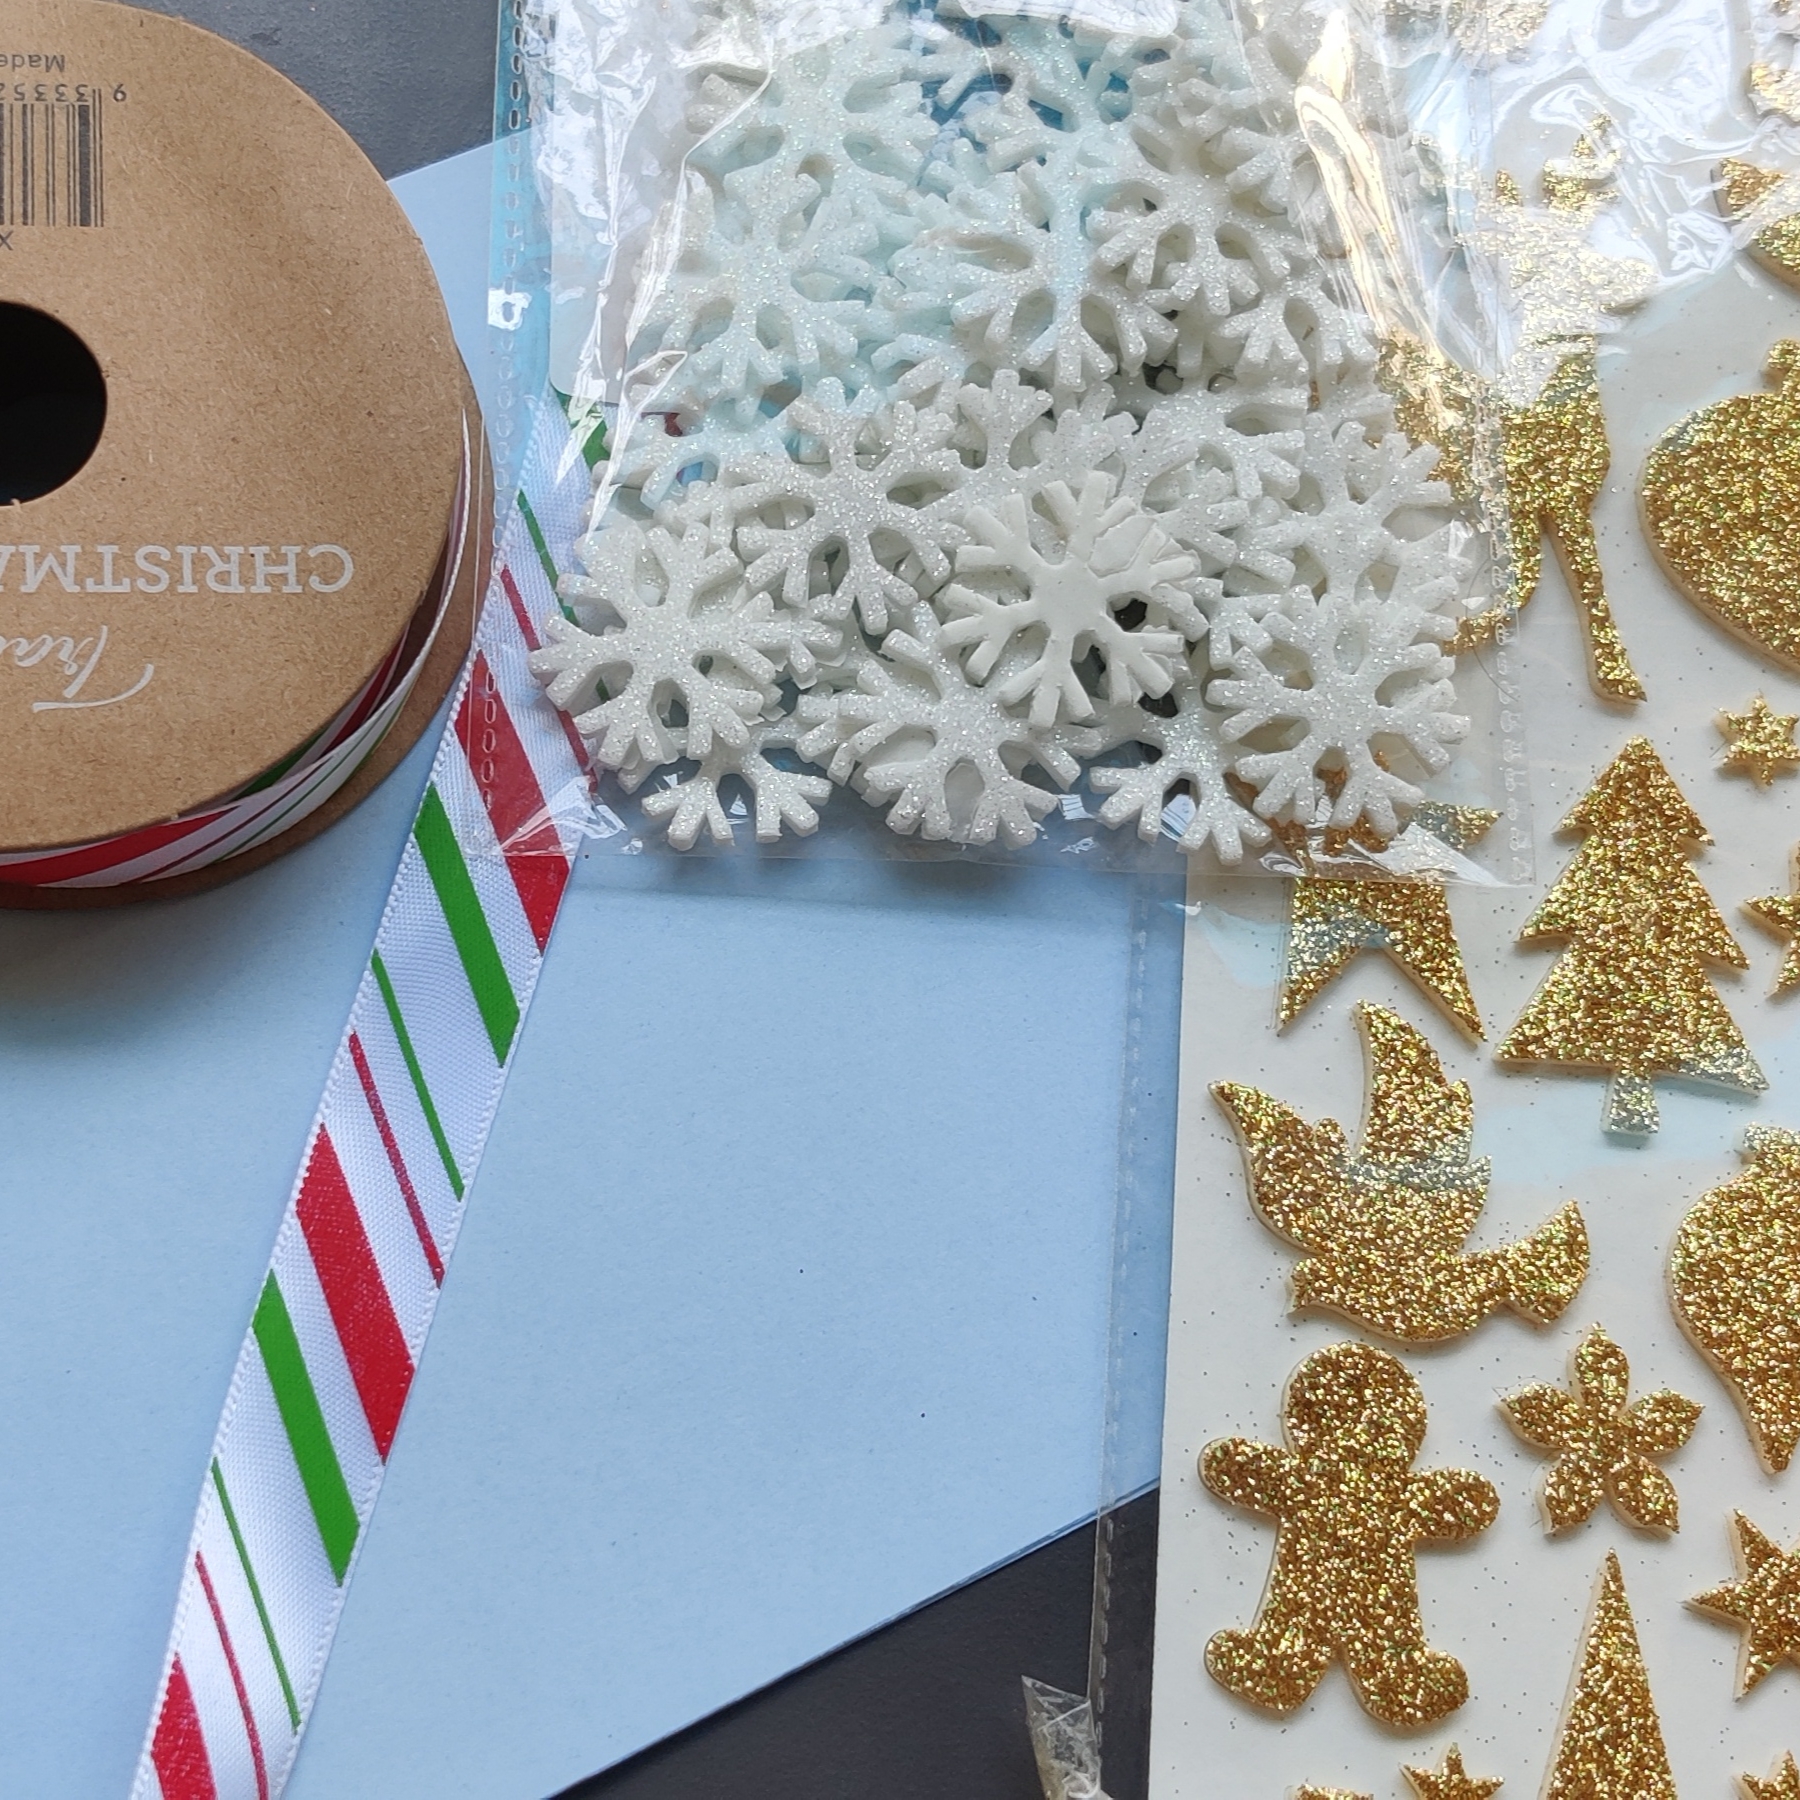
Manasa Priya here from Upcycled with fun Christmas cards that can be made in a jiffy. Christmas season, the season of giving is here! You must be thinking of sending happy mails to your loved ones. Be it for a Secret Santa message or for your kids to exchange greetings... these three cards can be DIY'ed under ten minutes using the readymade card bases and embellishments from Itsy Bitsy.
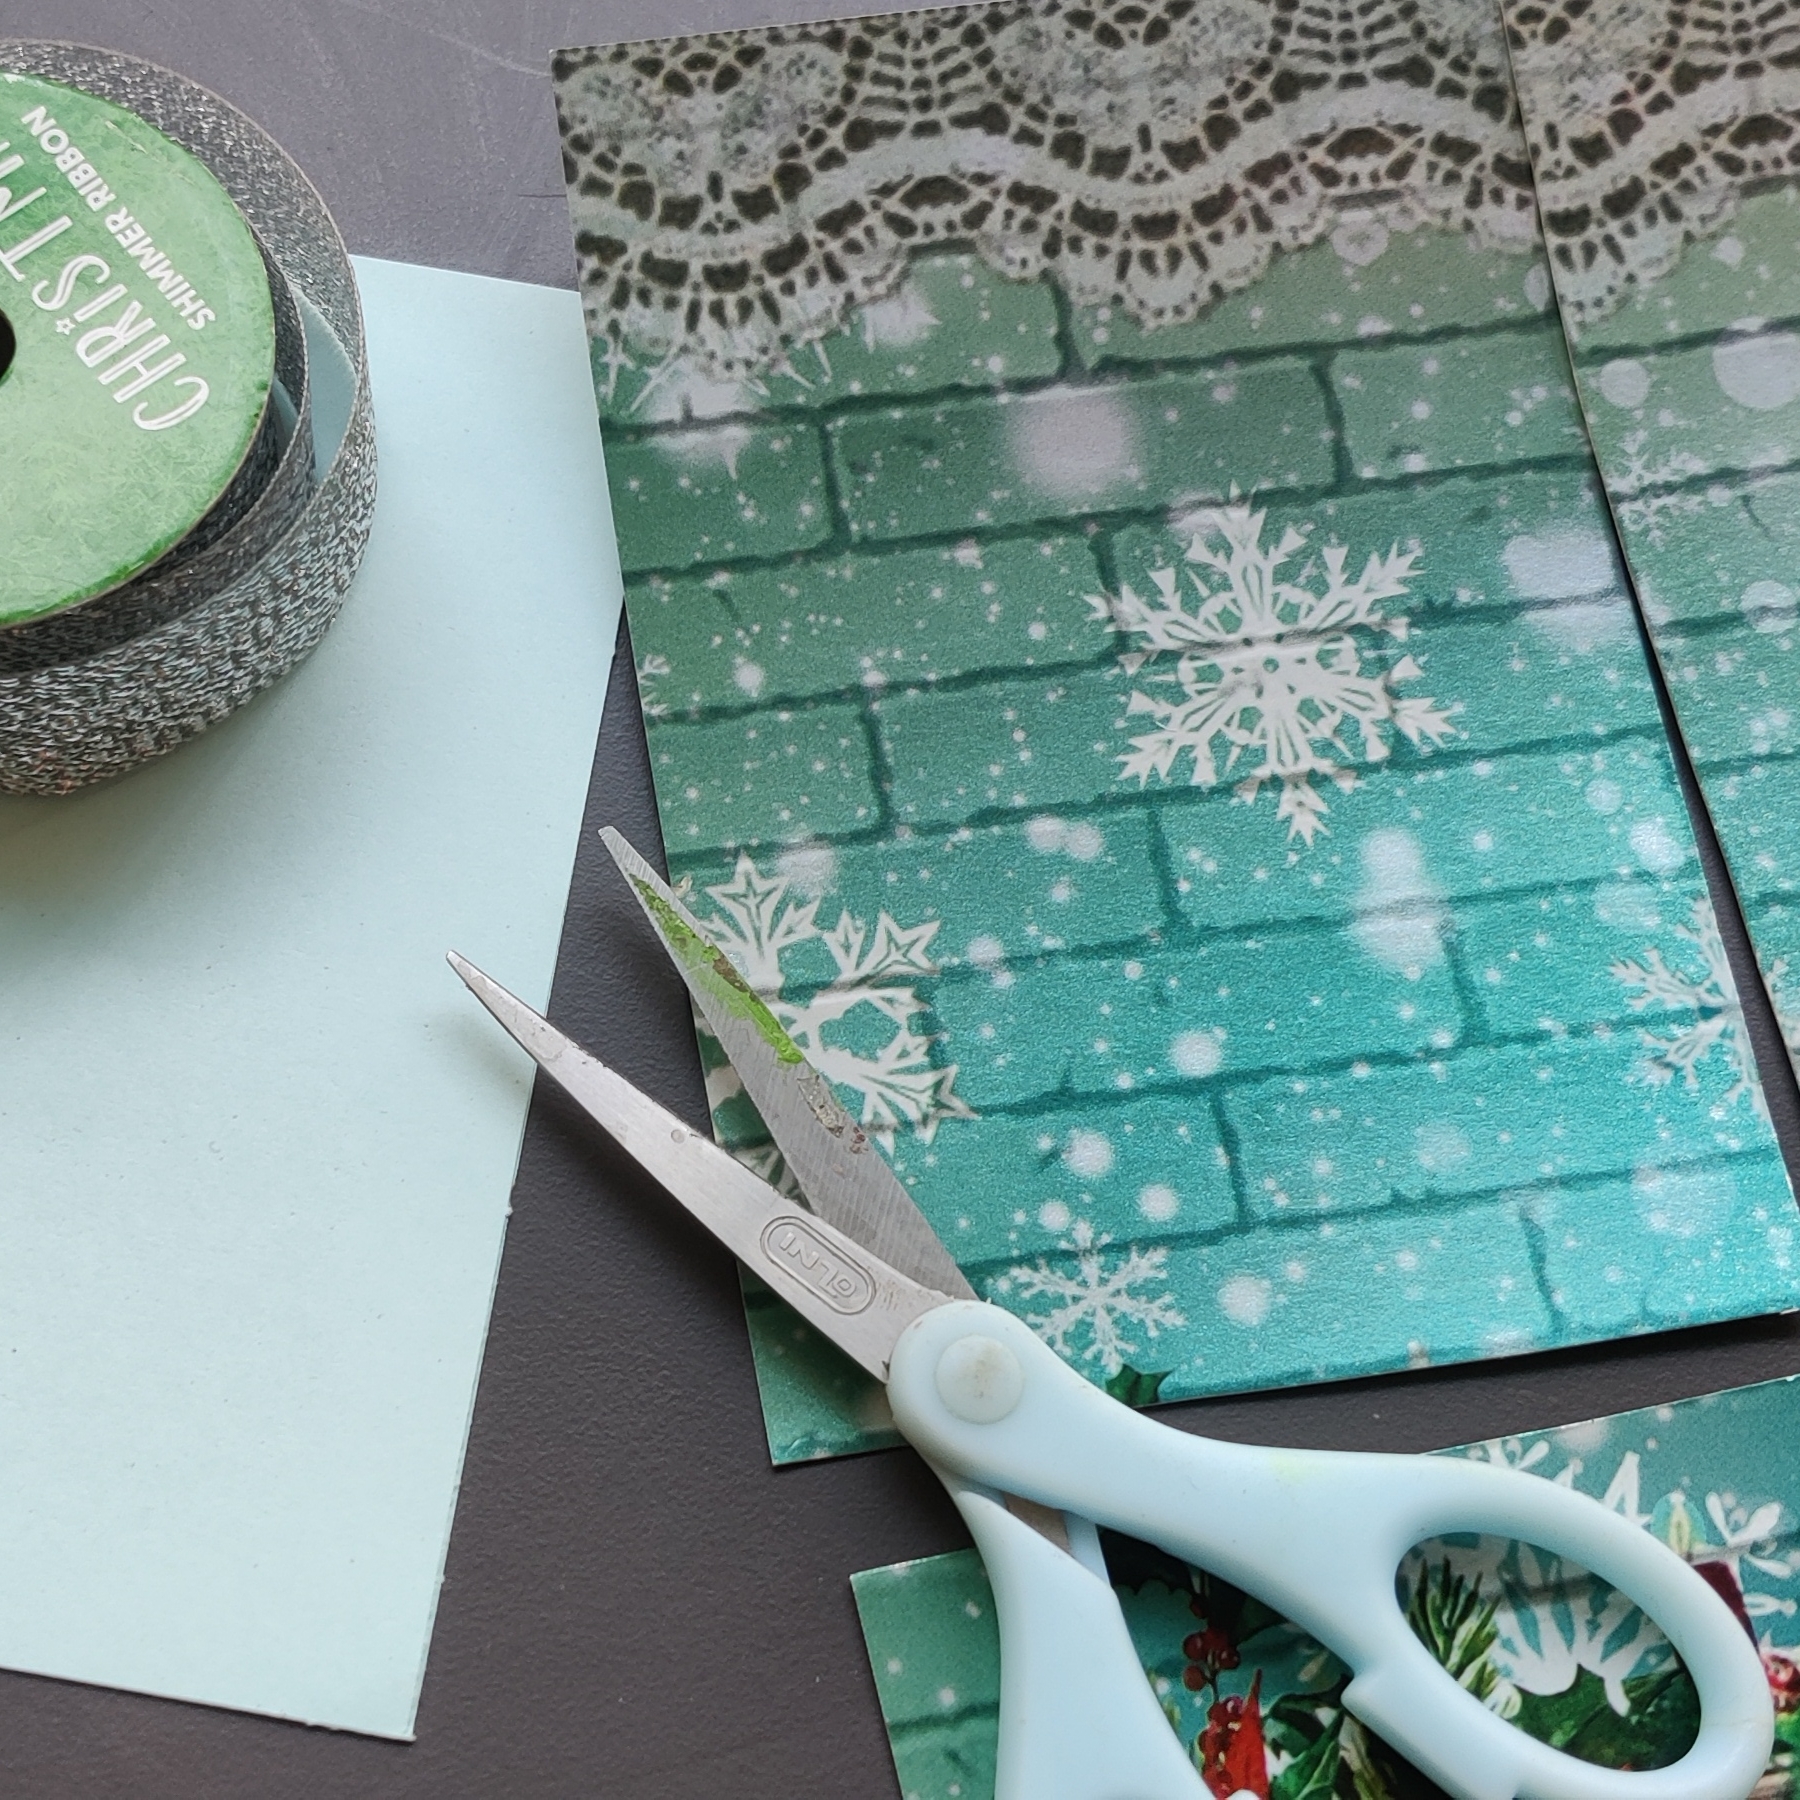 I began by cutting a snowflake design cardstock into the size of the readymade card base and matted it with red glitter cardstock. Next, I added the silver ribbon inbetween to create layers.
  Then, I fussy cut a images of a tree and sleigh with gifts from another cardstock to use as embellishments and layered it with Santa sticker and a sentiment .
  Next, I began to assemble them all together and the card is ready!
 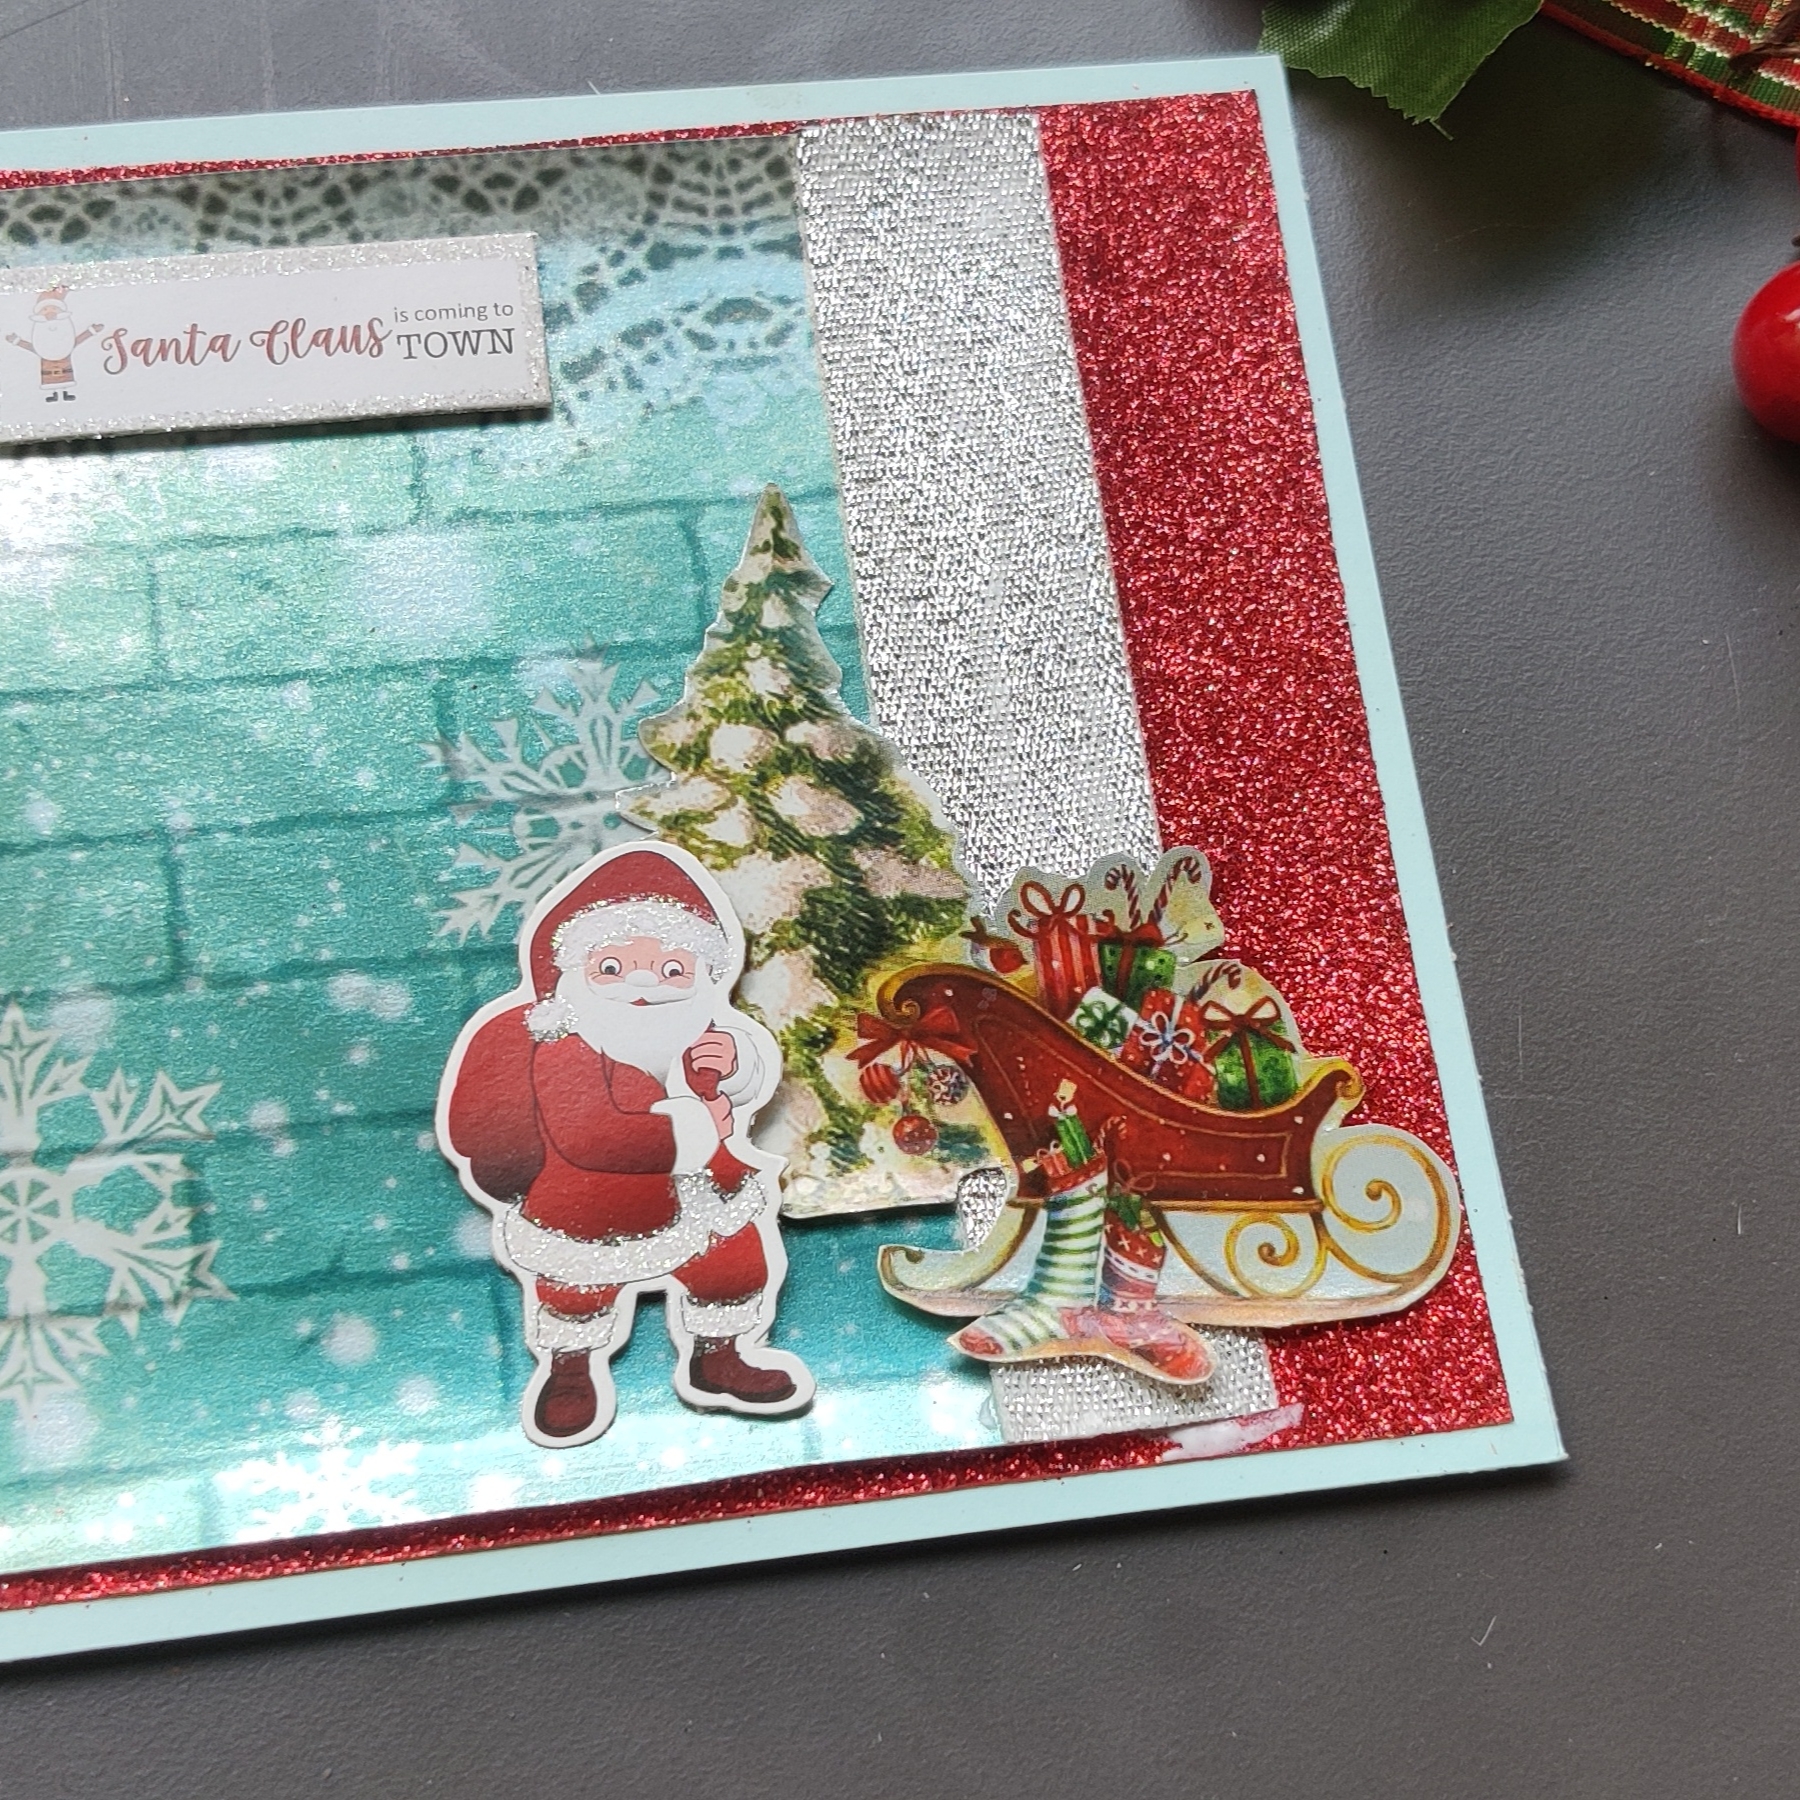 2. JOY Wreath CAS Card This card is as simple as it can be! I have taken a readymade card base and matted it with green glitter cardstock and a deckled edged white cardstock to form a base .
 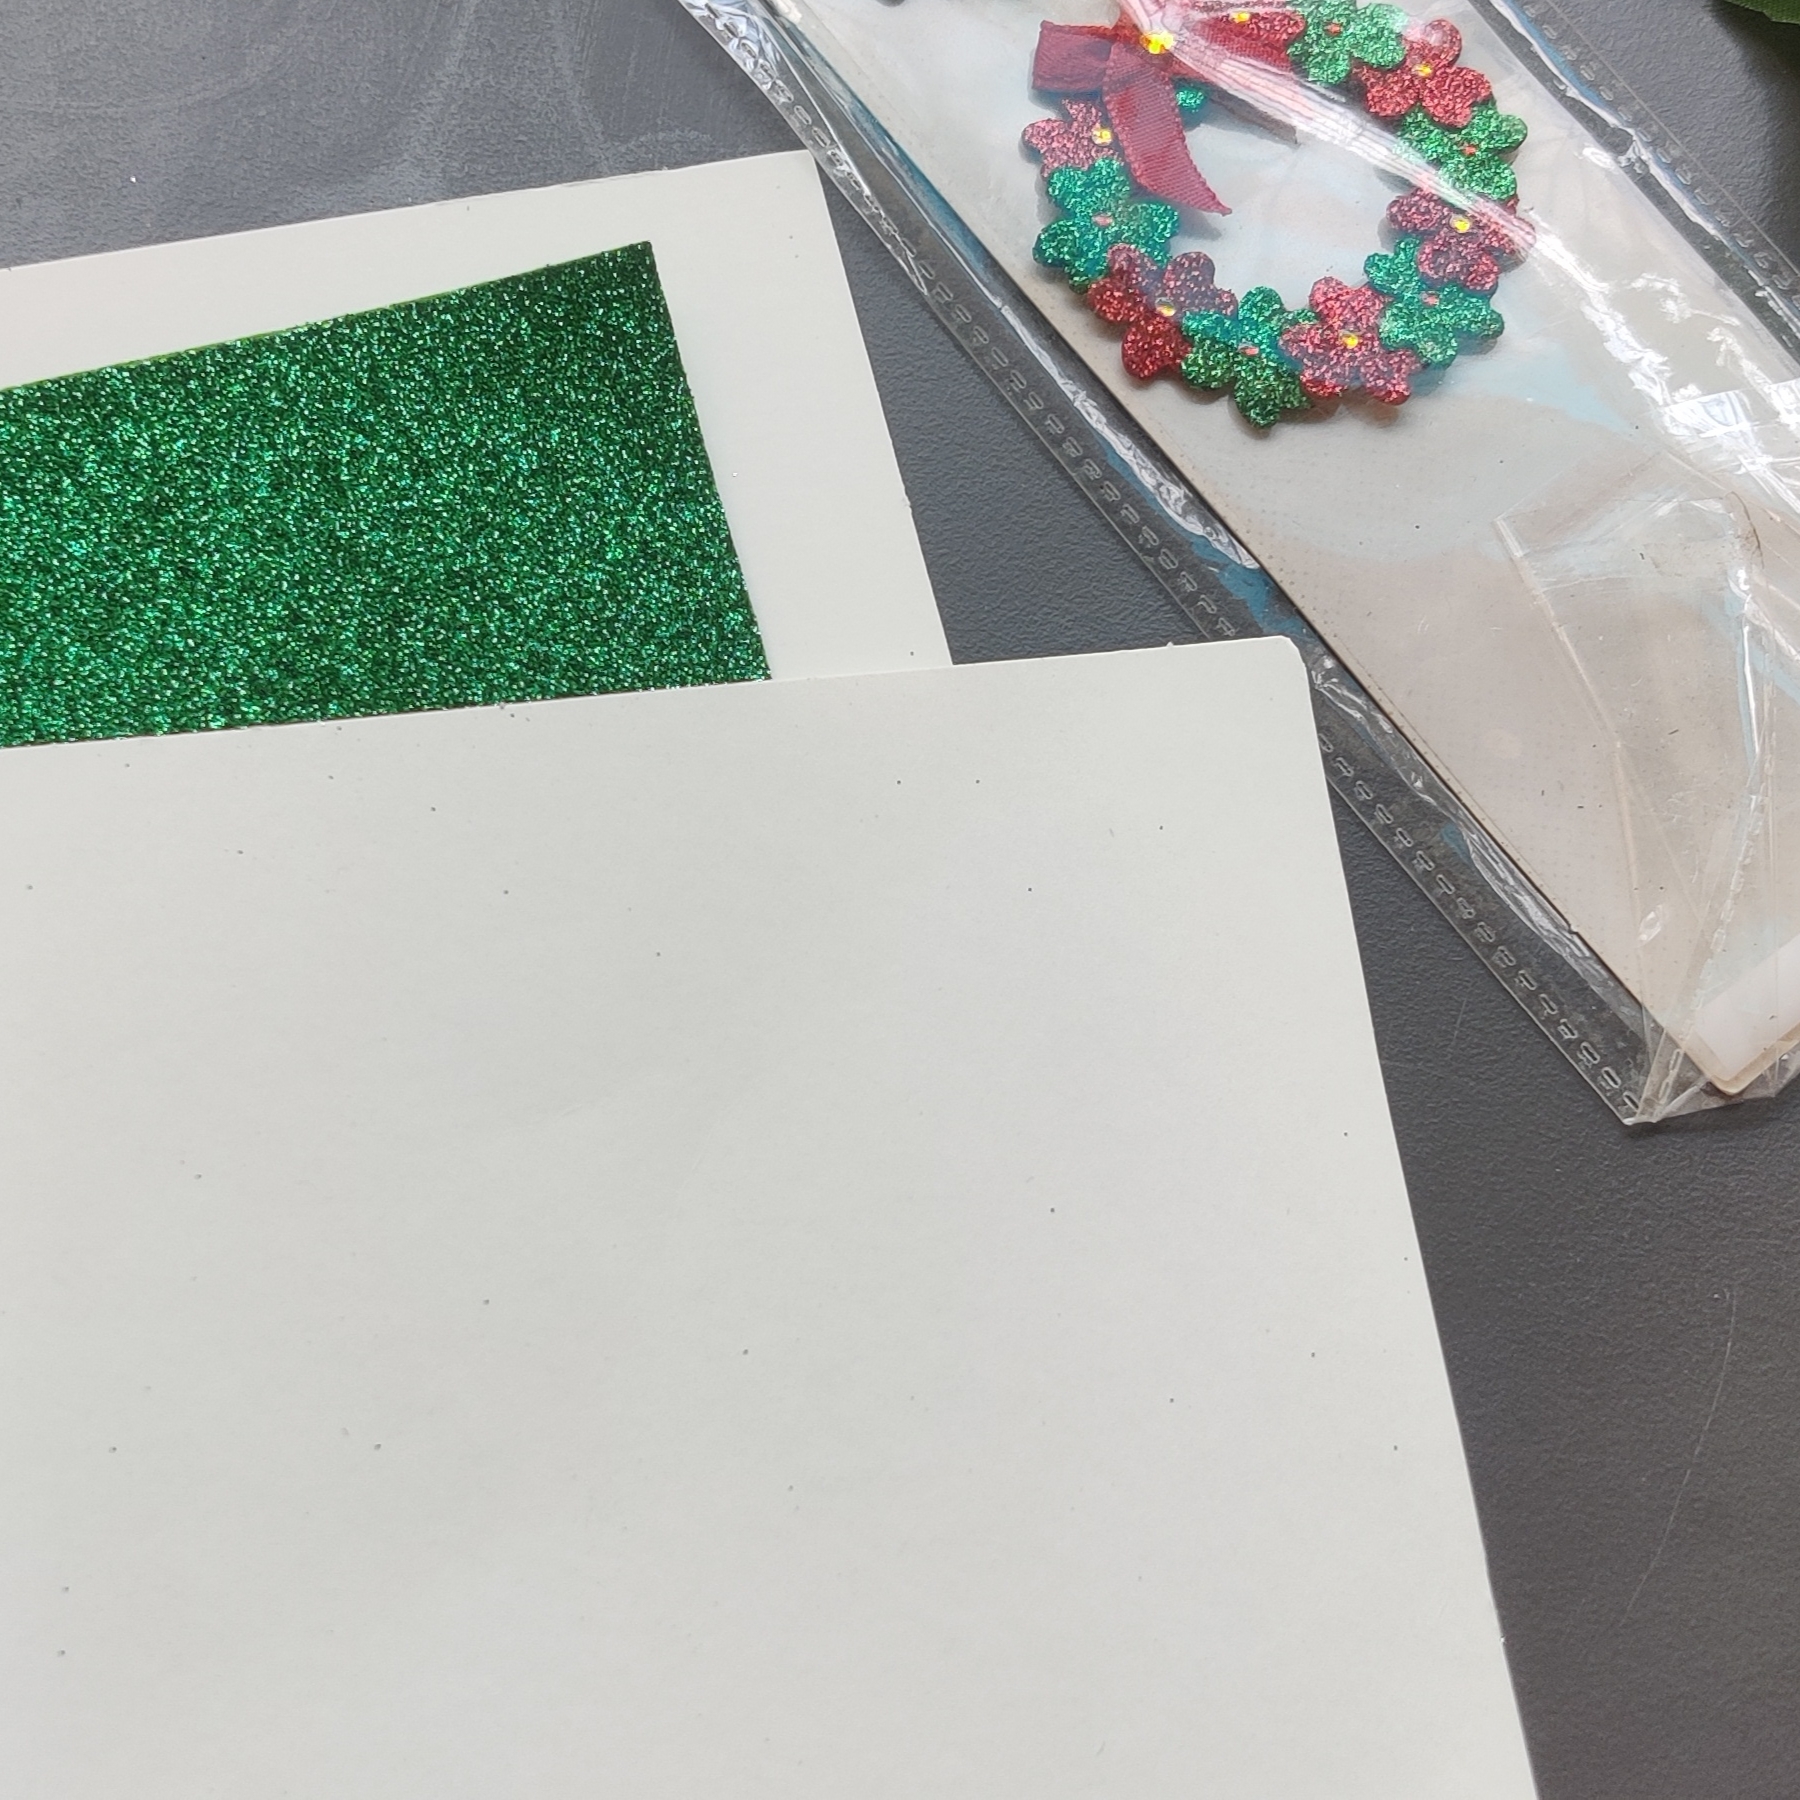 Added a wreath glitter embellishment sticker at the centre of the card and wrote the letters J and Y to form the word JOY with the help of craft glue.
  Used sprinkled gold glitter over the glue.
 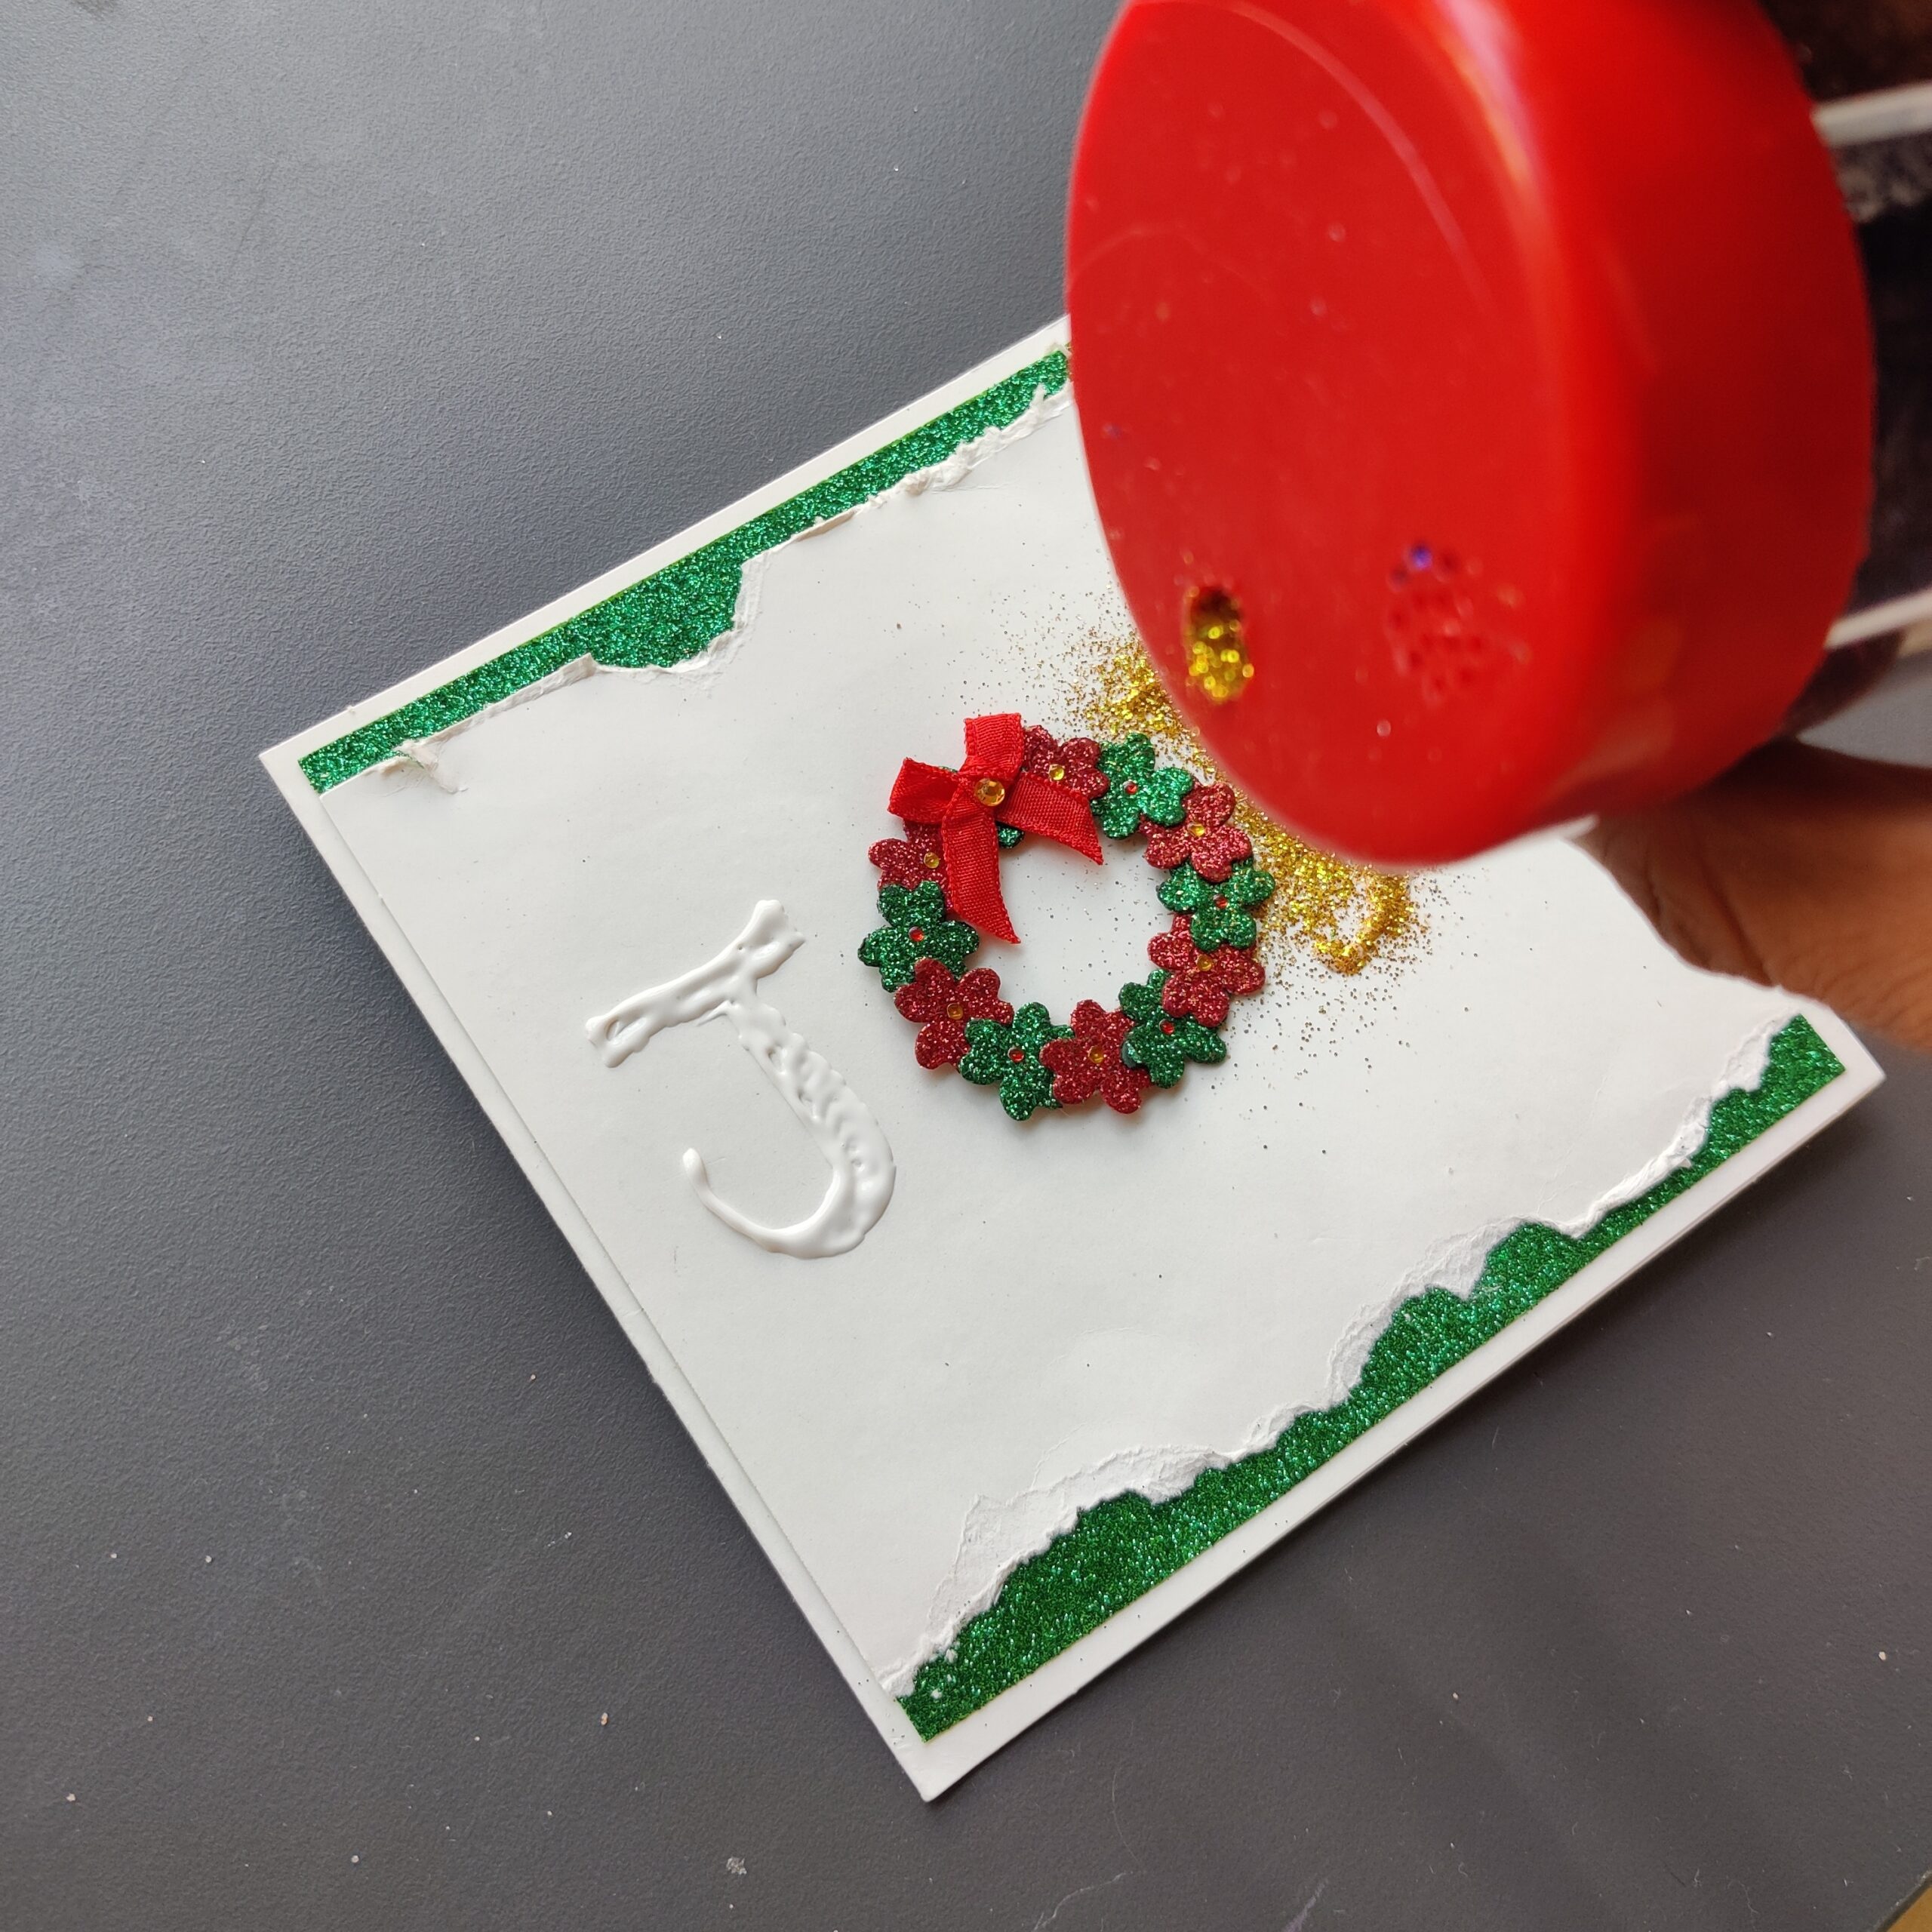 The clean and simple (CAS) card is ready!
 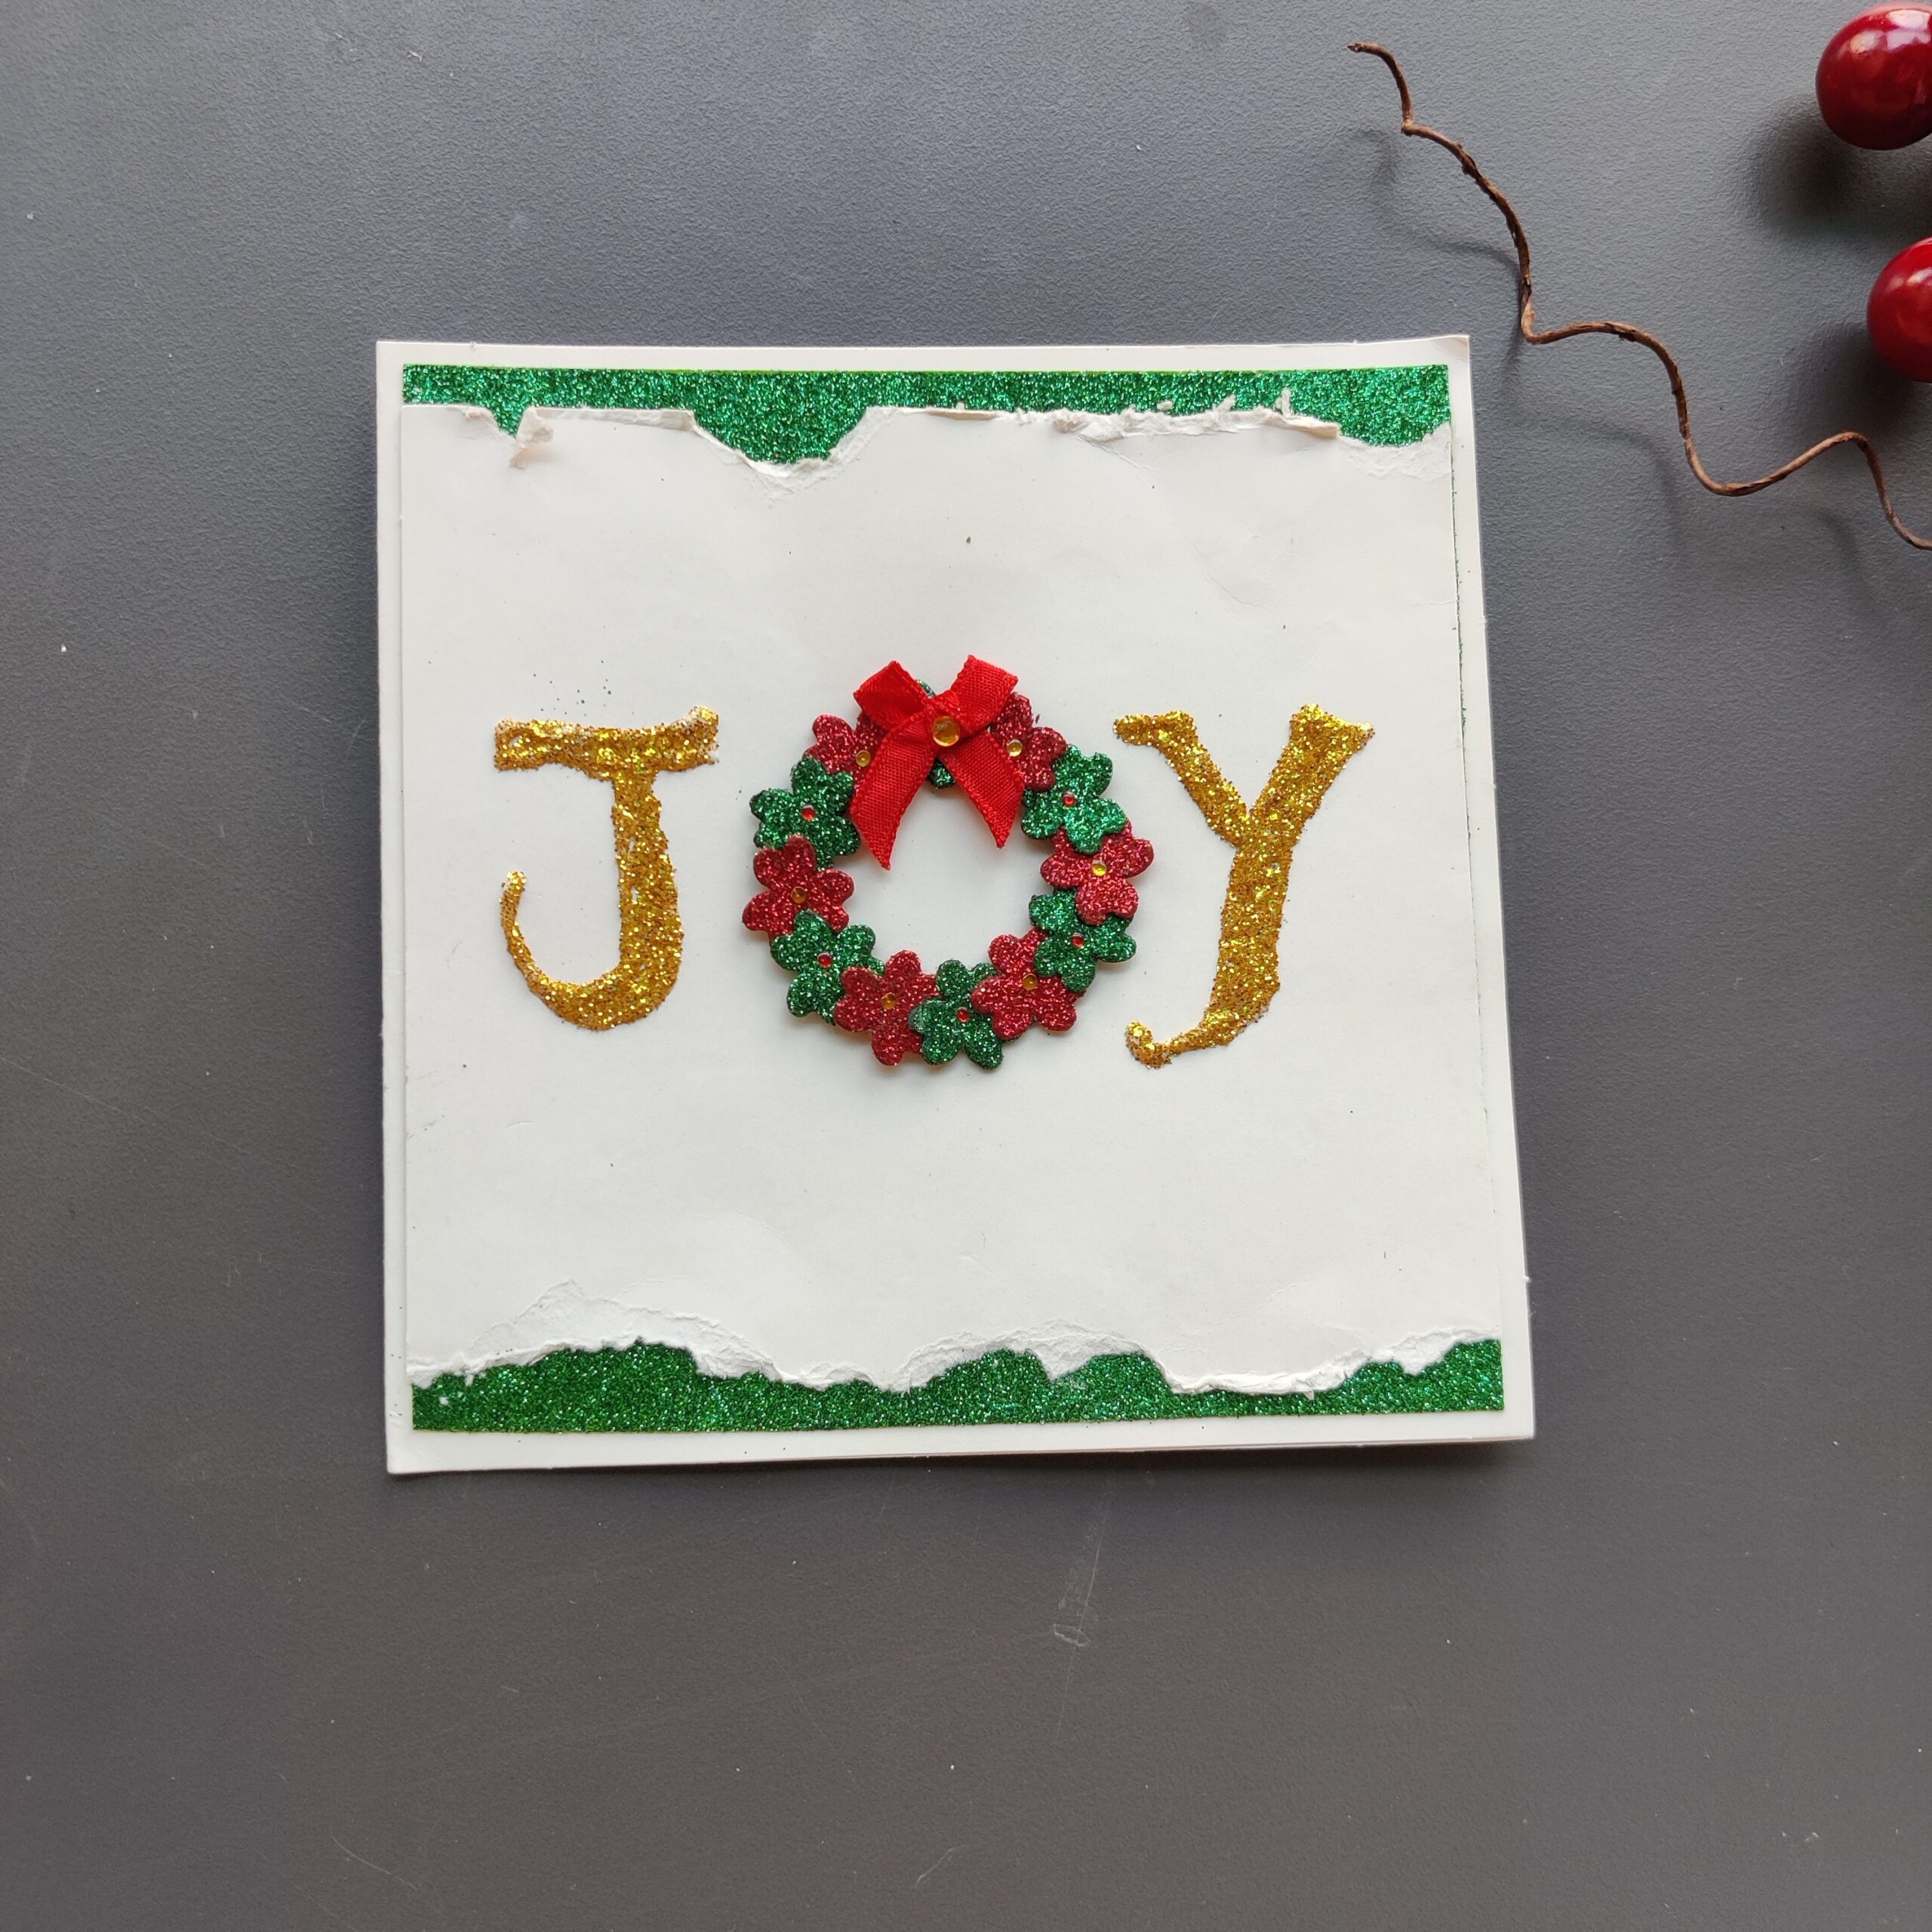 3. Snowy Christmas Tree For this card I made foam snowflakes stickers the focus elements to create a tree by layering them on top of each other
 For the sentiment, I used the Christmas deco transfer sheet and cut out the sentiment 'Merry Christmas'. I transferred it onto the card and it's done!
 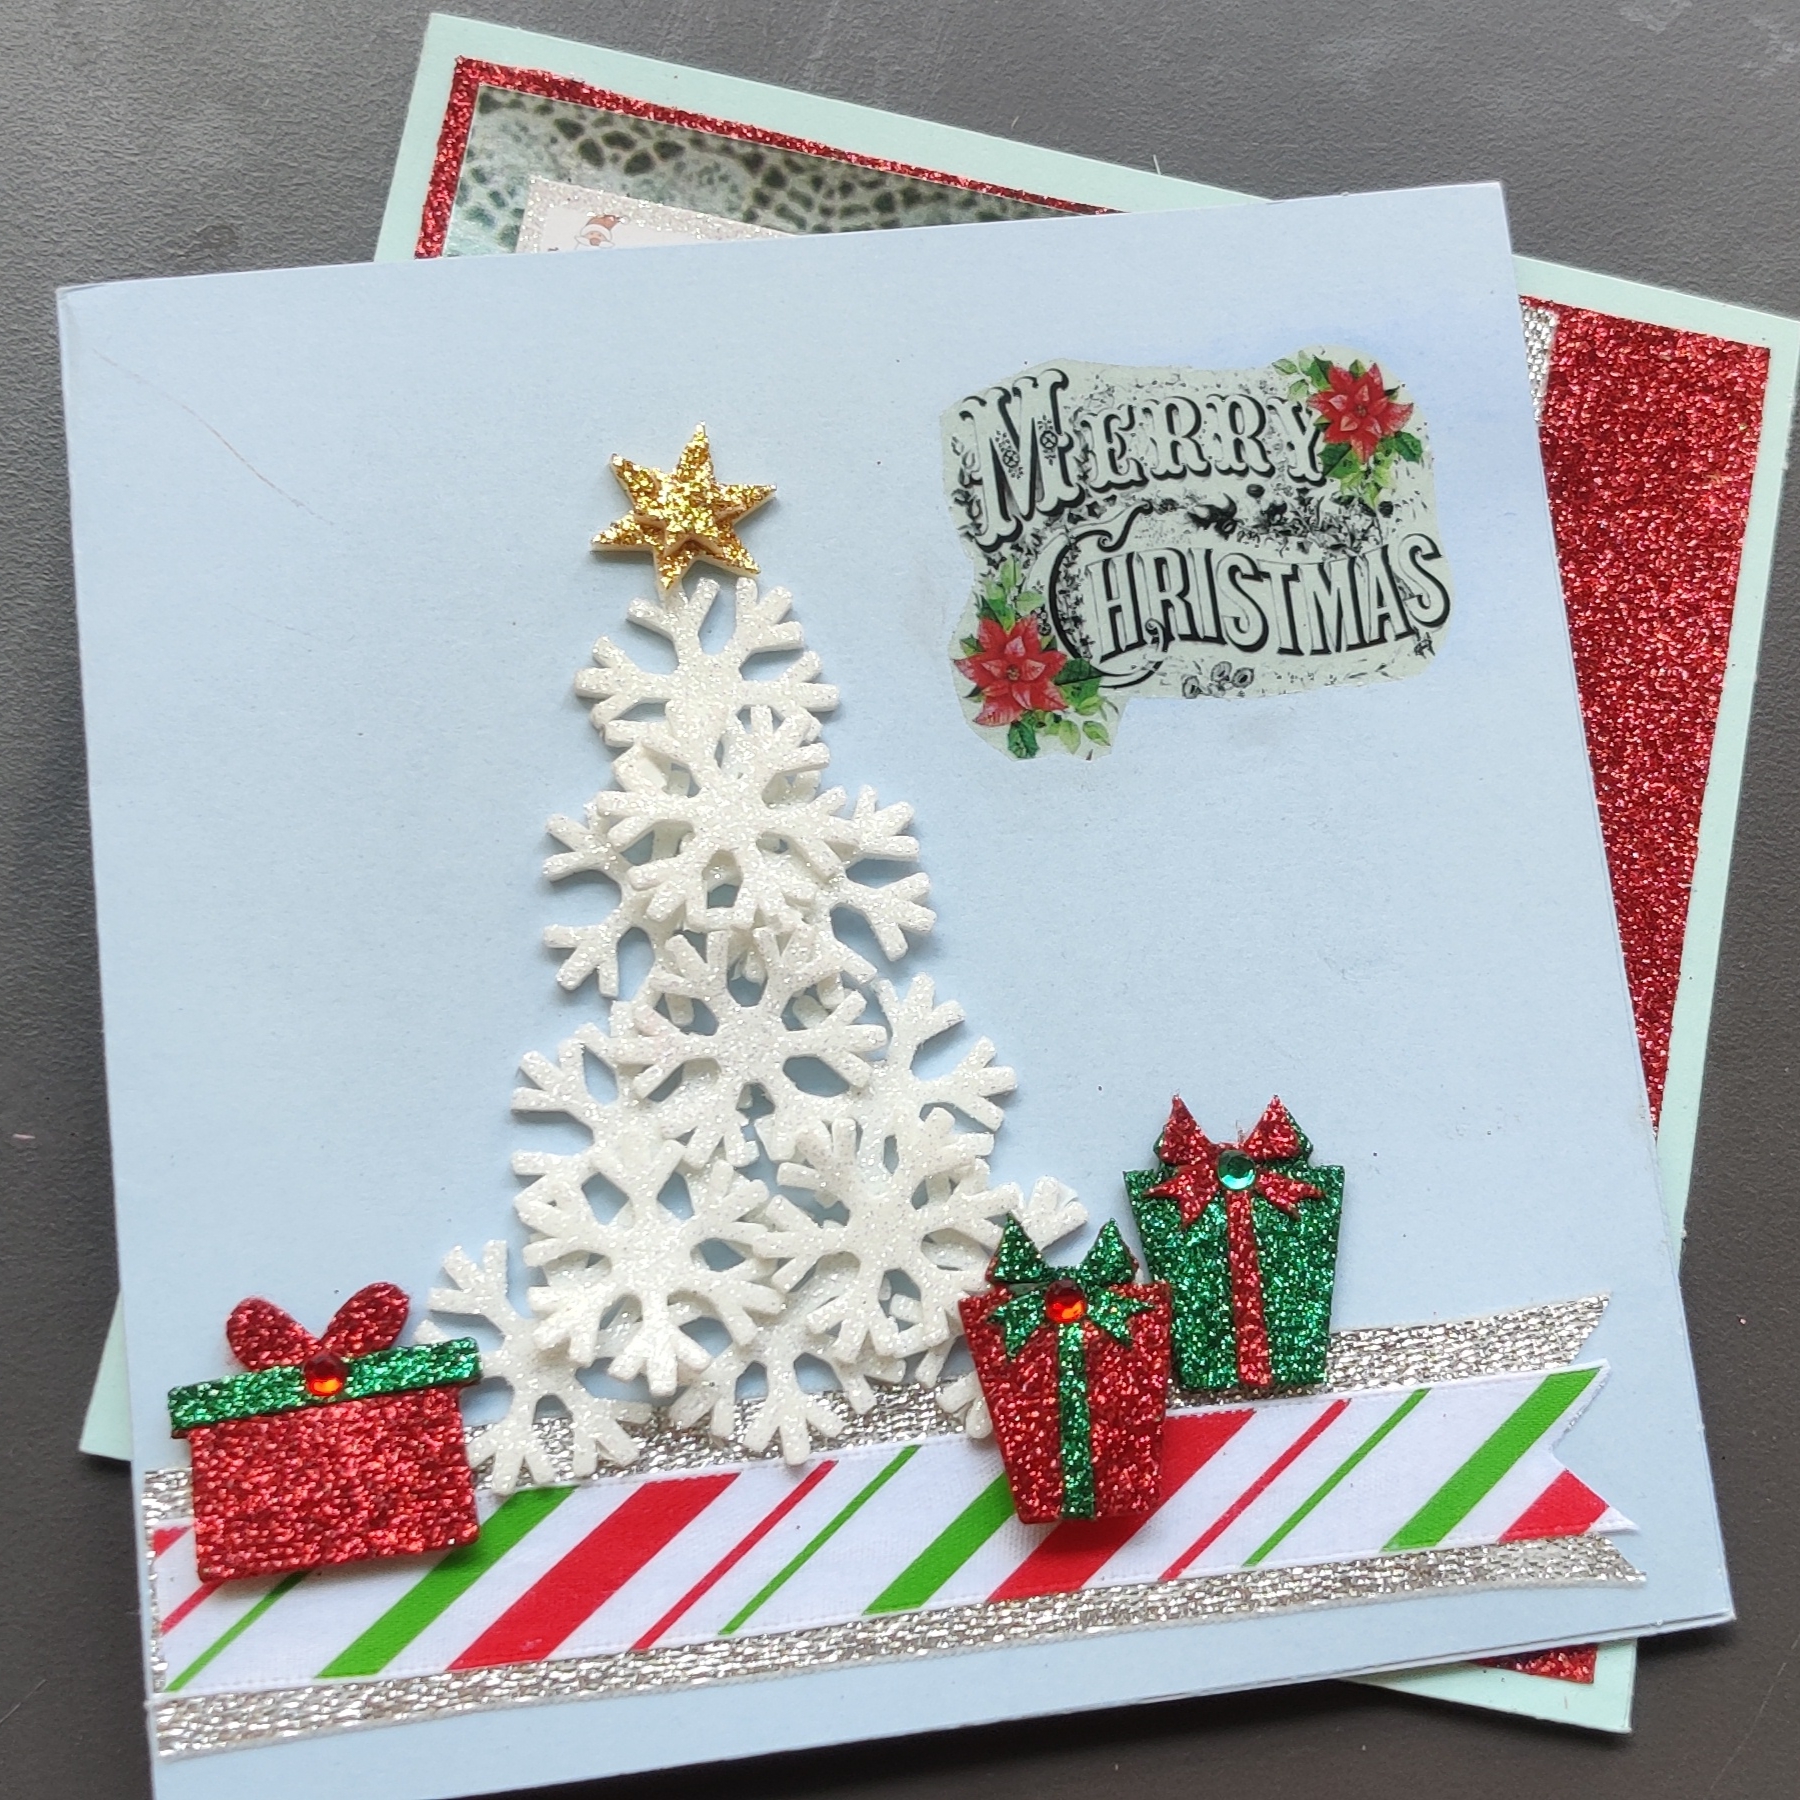 I hope you enjoyed learning these quick DIY Christmas cards to make for yourself.
 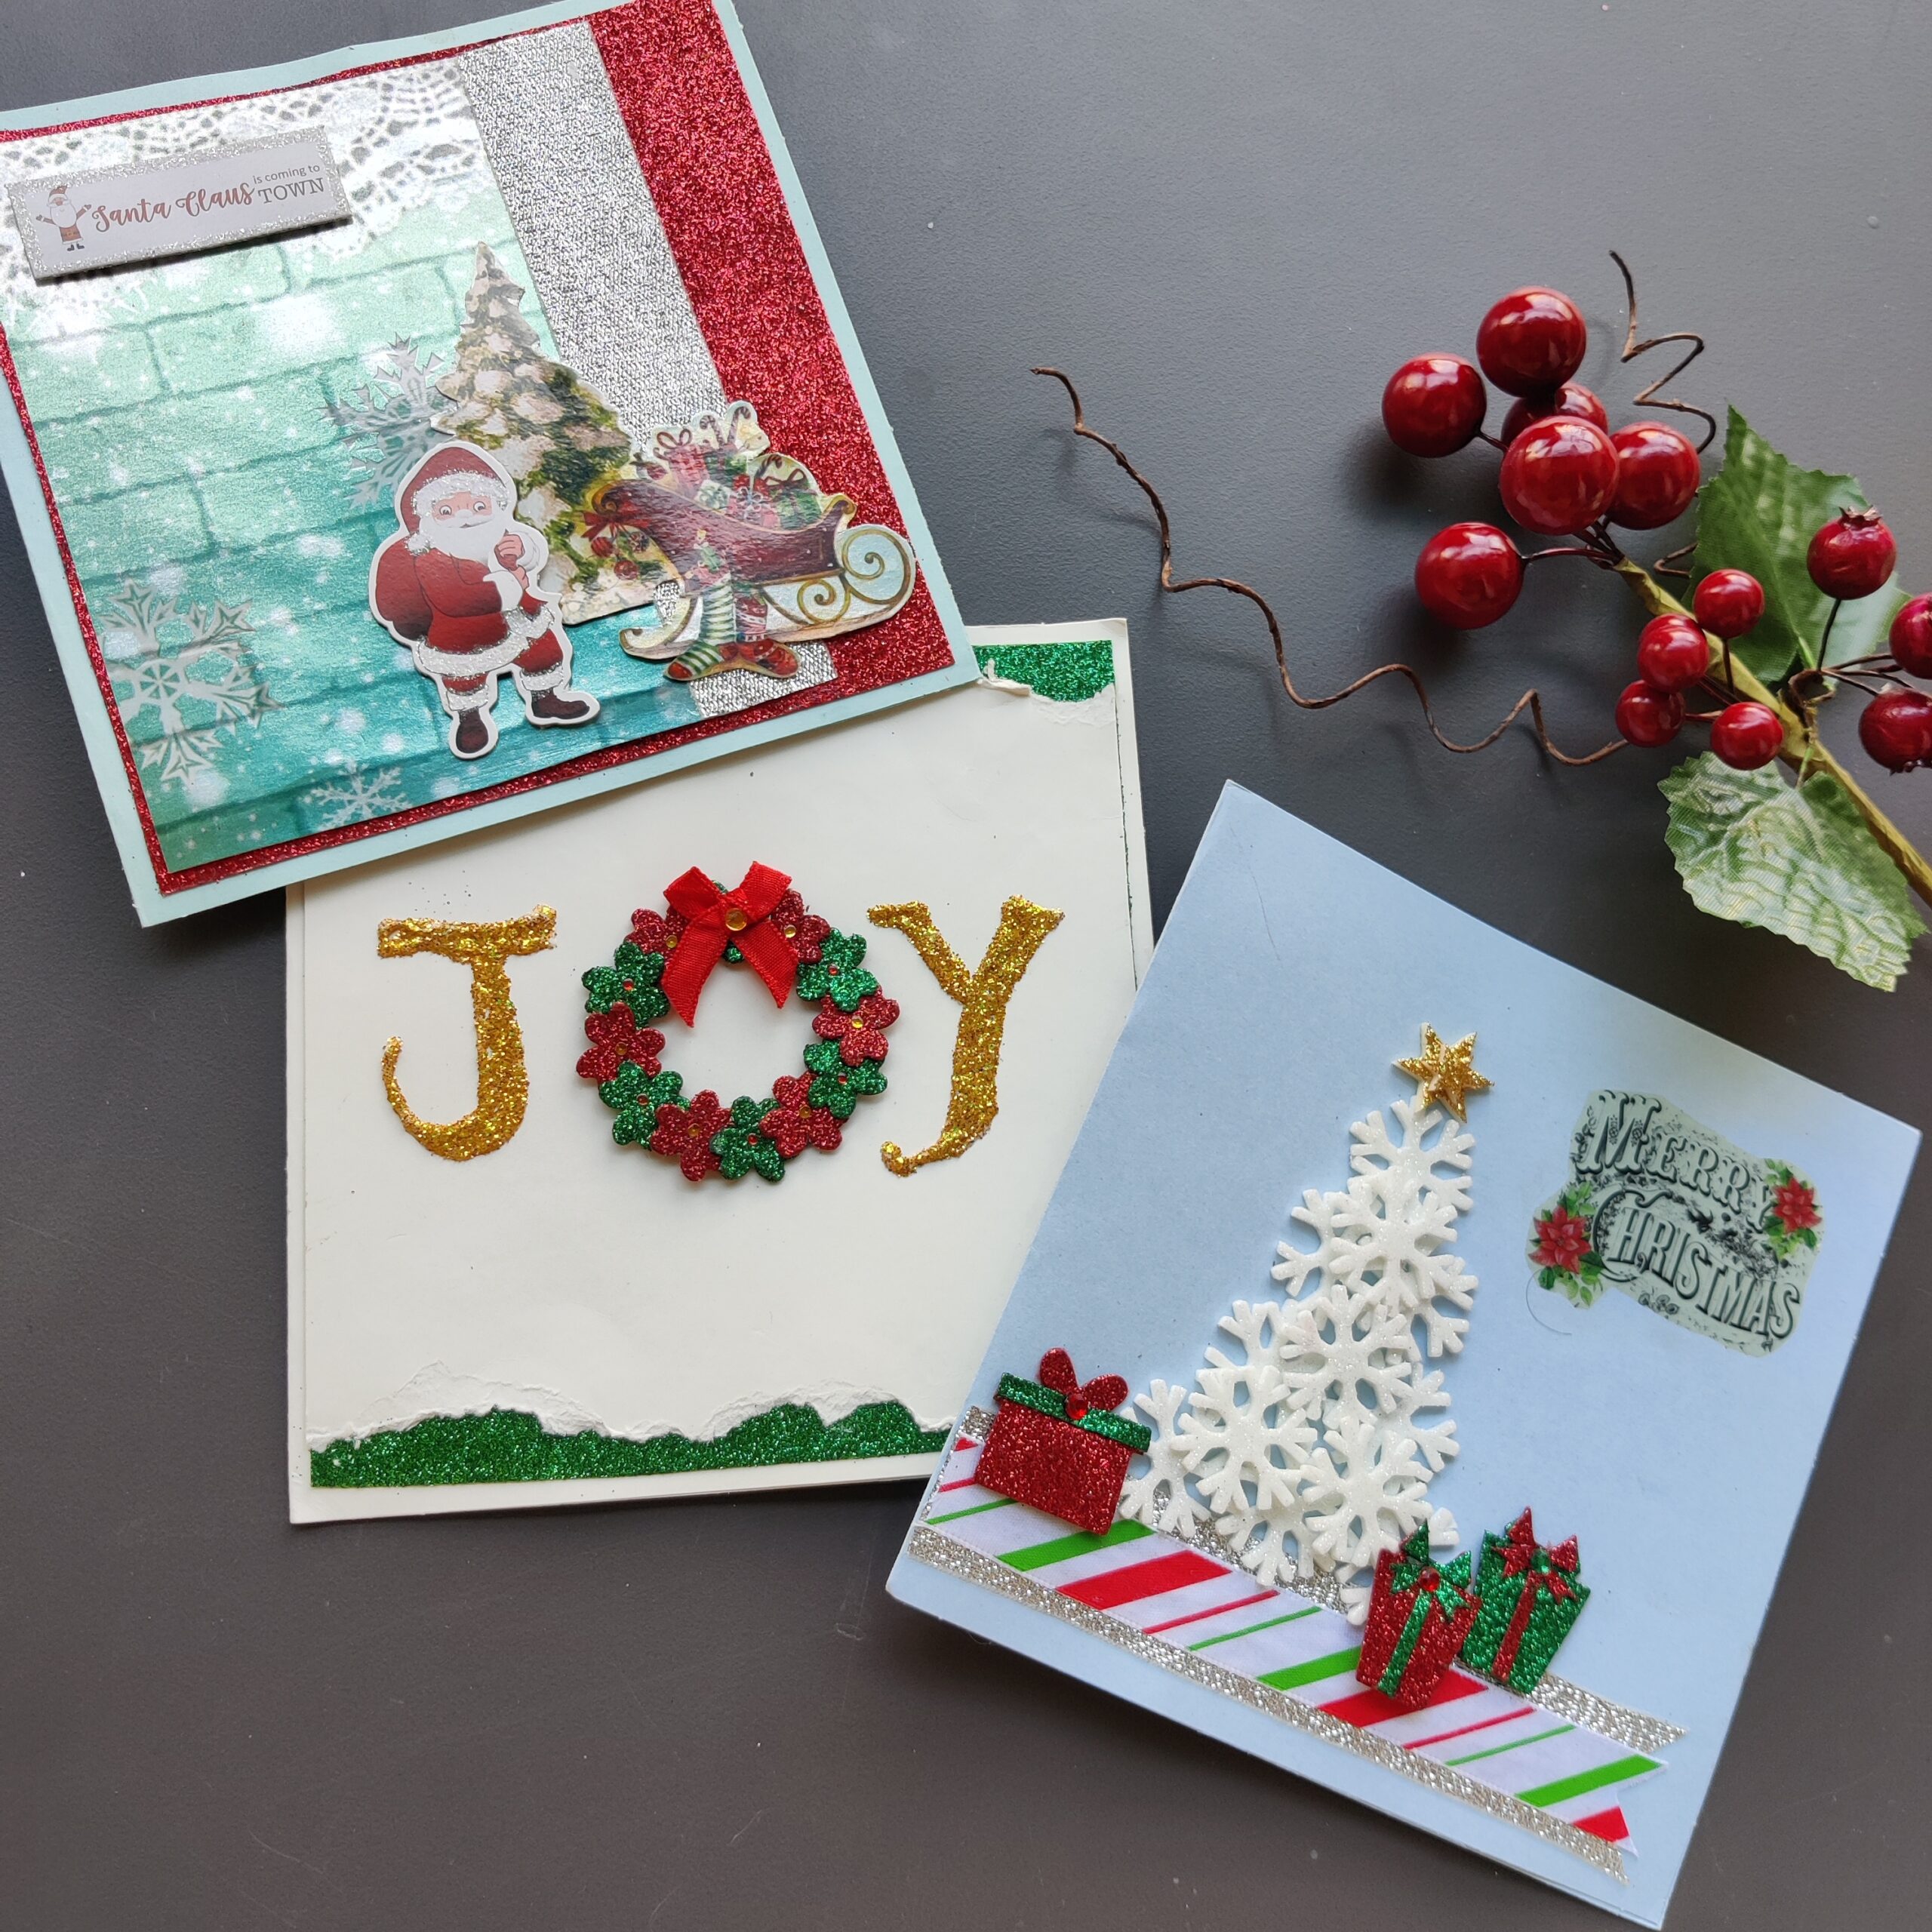 Please share your creations with us at @itsybitstycraftstore and @upcycledbymanasa on Instagram, we would love to see and give a shoutout !! . Happy Crafting and wishing you a Merry Christmas 🎄