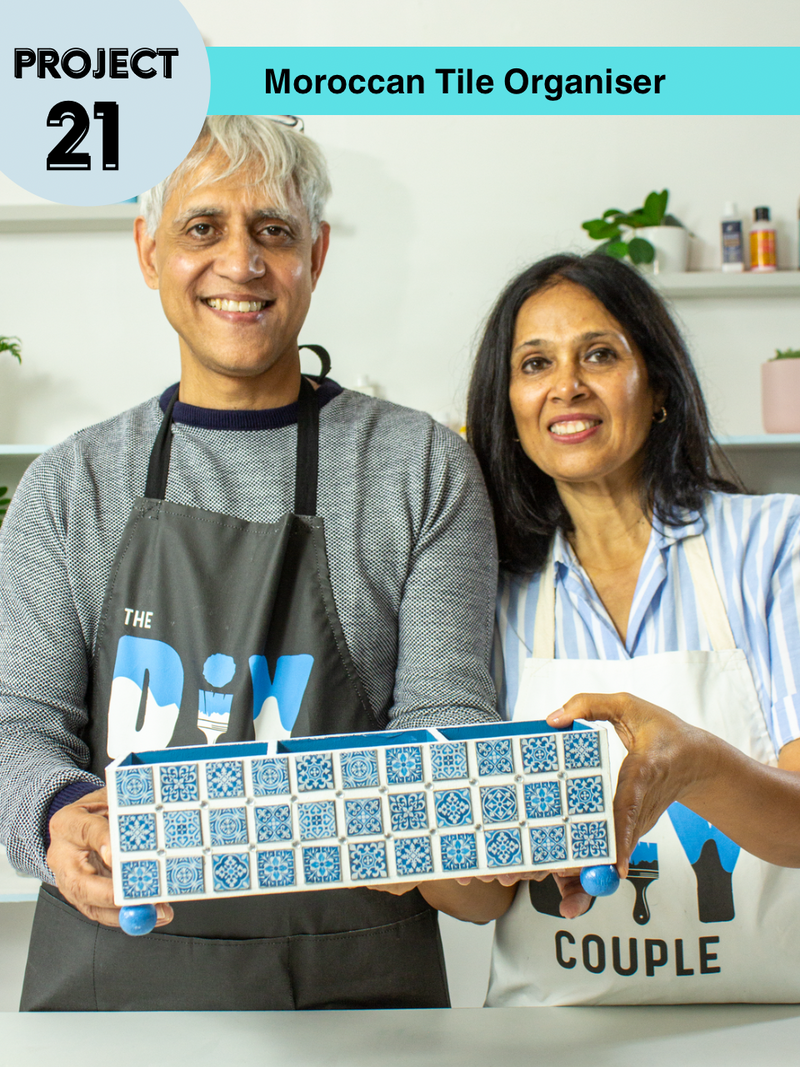
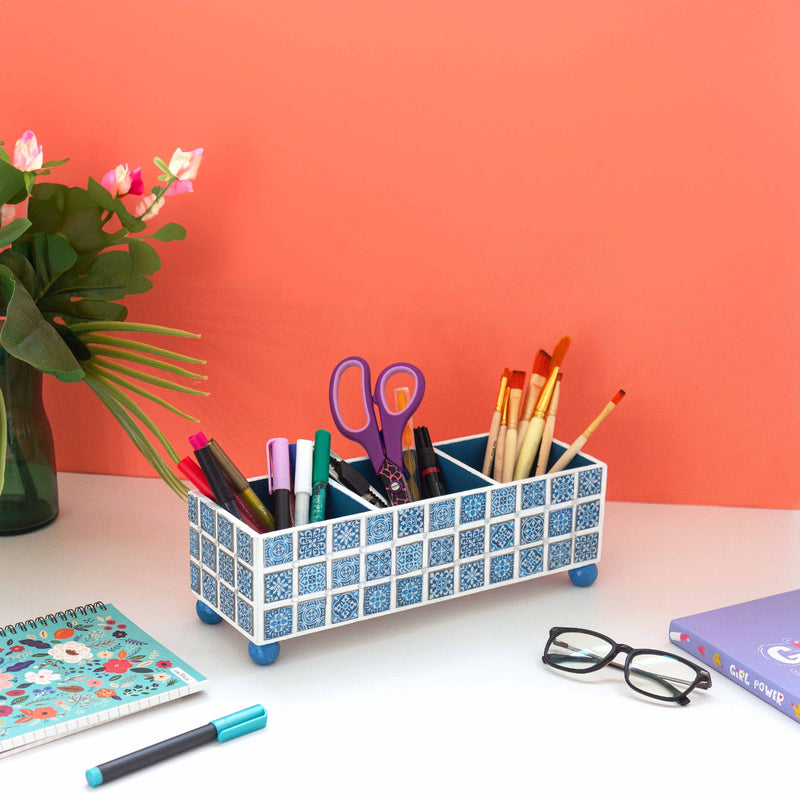
The DIY Couple! Project 21

Join the dynamic duo Rashmi and Harish, founders of Itsy Bitsy, for thrilling DIY adventures! Since 2007, they've championed creativity, inspiring all to explore their crafty side. But they haven’t gotten the time to explore theirs :( So, now is the time. Let go of stress, awaken your inner child, and discover the endless joy of crafting with Harish and Rashmi. Let’s all aim to be a little more happier with the joy of Art and Craft! Stay tuned here for easy, quick and affordable project ideas which you can directly shop STRESS-FREE
Apply White Chalk Paint
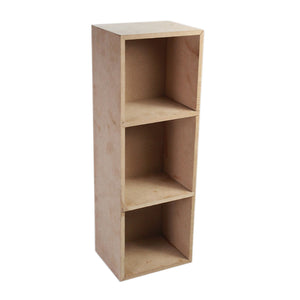
Start by applying a coat of white chalk paint (snow color) on the MDF organizer.

Paint the Inside
Once the white paint is dry, apply blue chalk paint on the inside of the organizer.

Apply Decoupage Paper
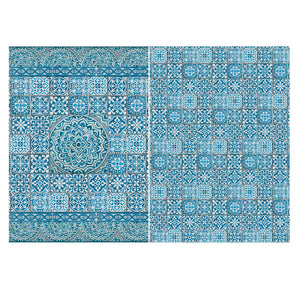
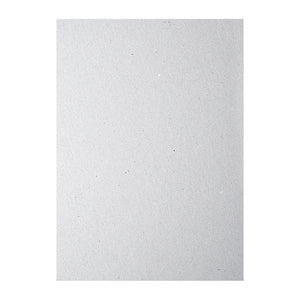
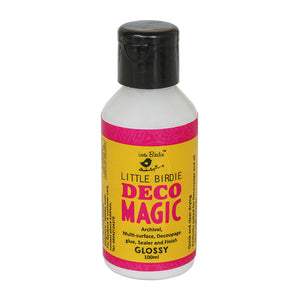
Cut the decoupage paper to the desired size and paste it onto the chipboard using decoupage glue.

Cut and Stick Tiles
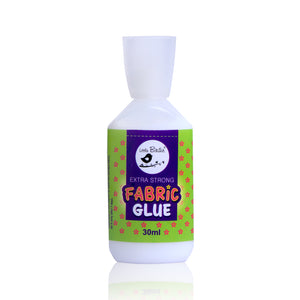
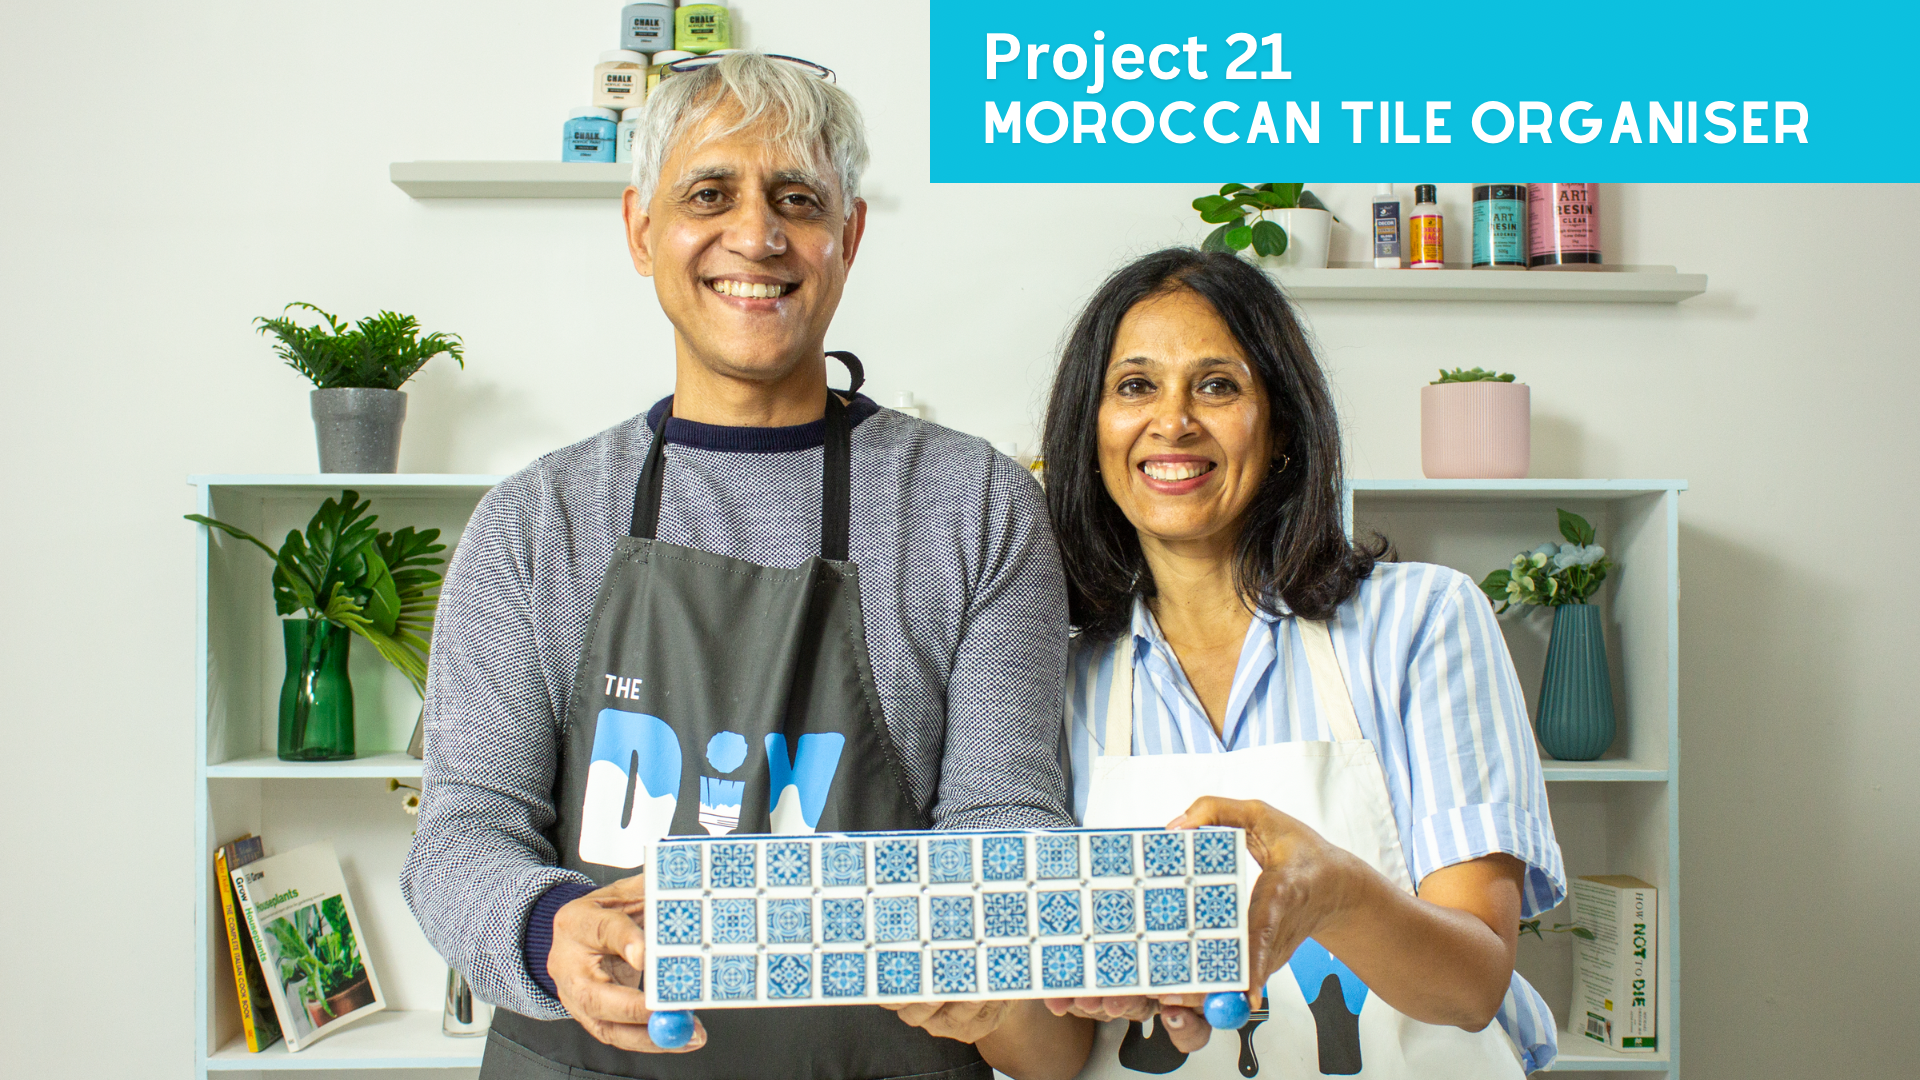
Cut out tiles from the decoupage paper and adhere them to the organizer using fabric glue.

Apply Decor Varnish
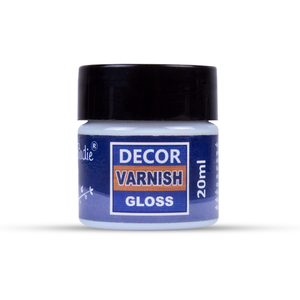
After the tiles are securely in place, apply a coat of decor varnish to seal and protect the surface.

Add Crystal Stones
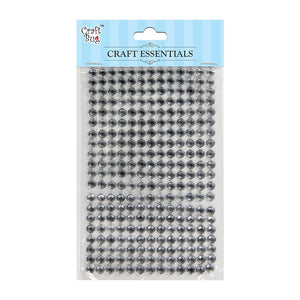
To fill the gaps between the tiles, stick crystal stones in the spaces using an appropriate adhesive.

Paint Wooden Beads
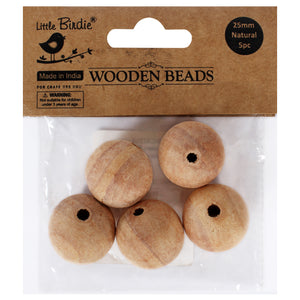
Paint four wooden beads with a base coat of white chalk paint, followed by a layer of blue chalk paint.

Attach Wooden Beads
Finally, attach the painted wooden beads to the four corners of the organizer using fabric glue