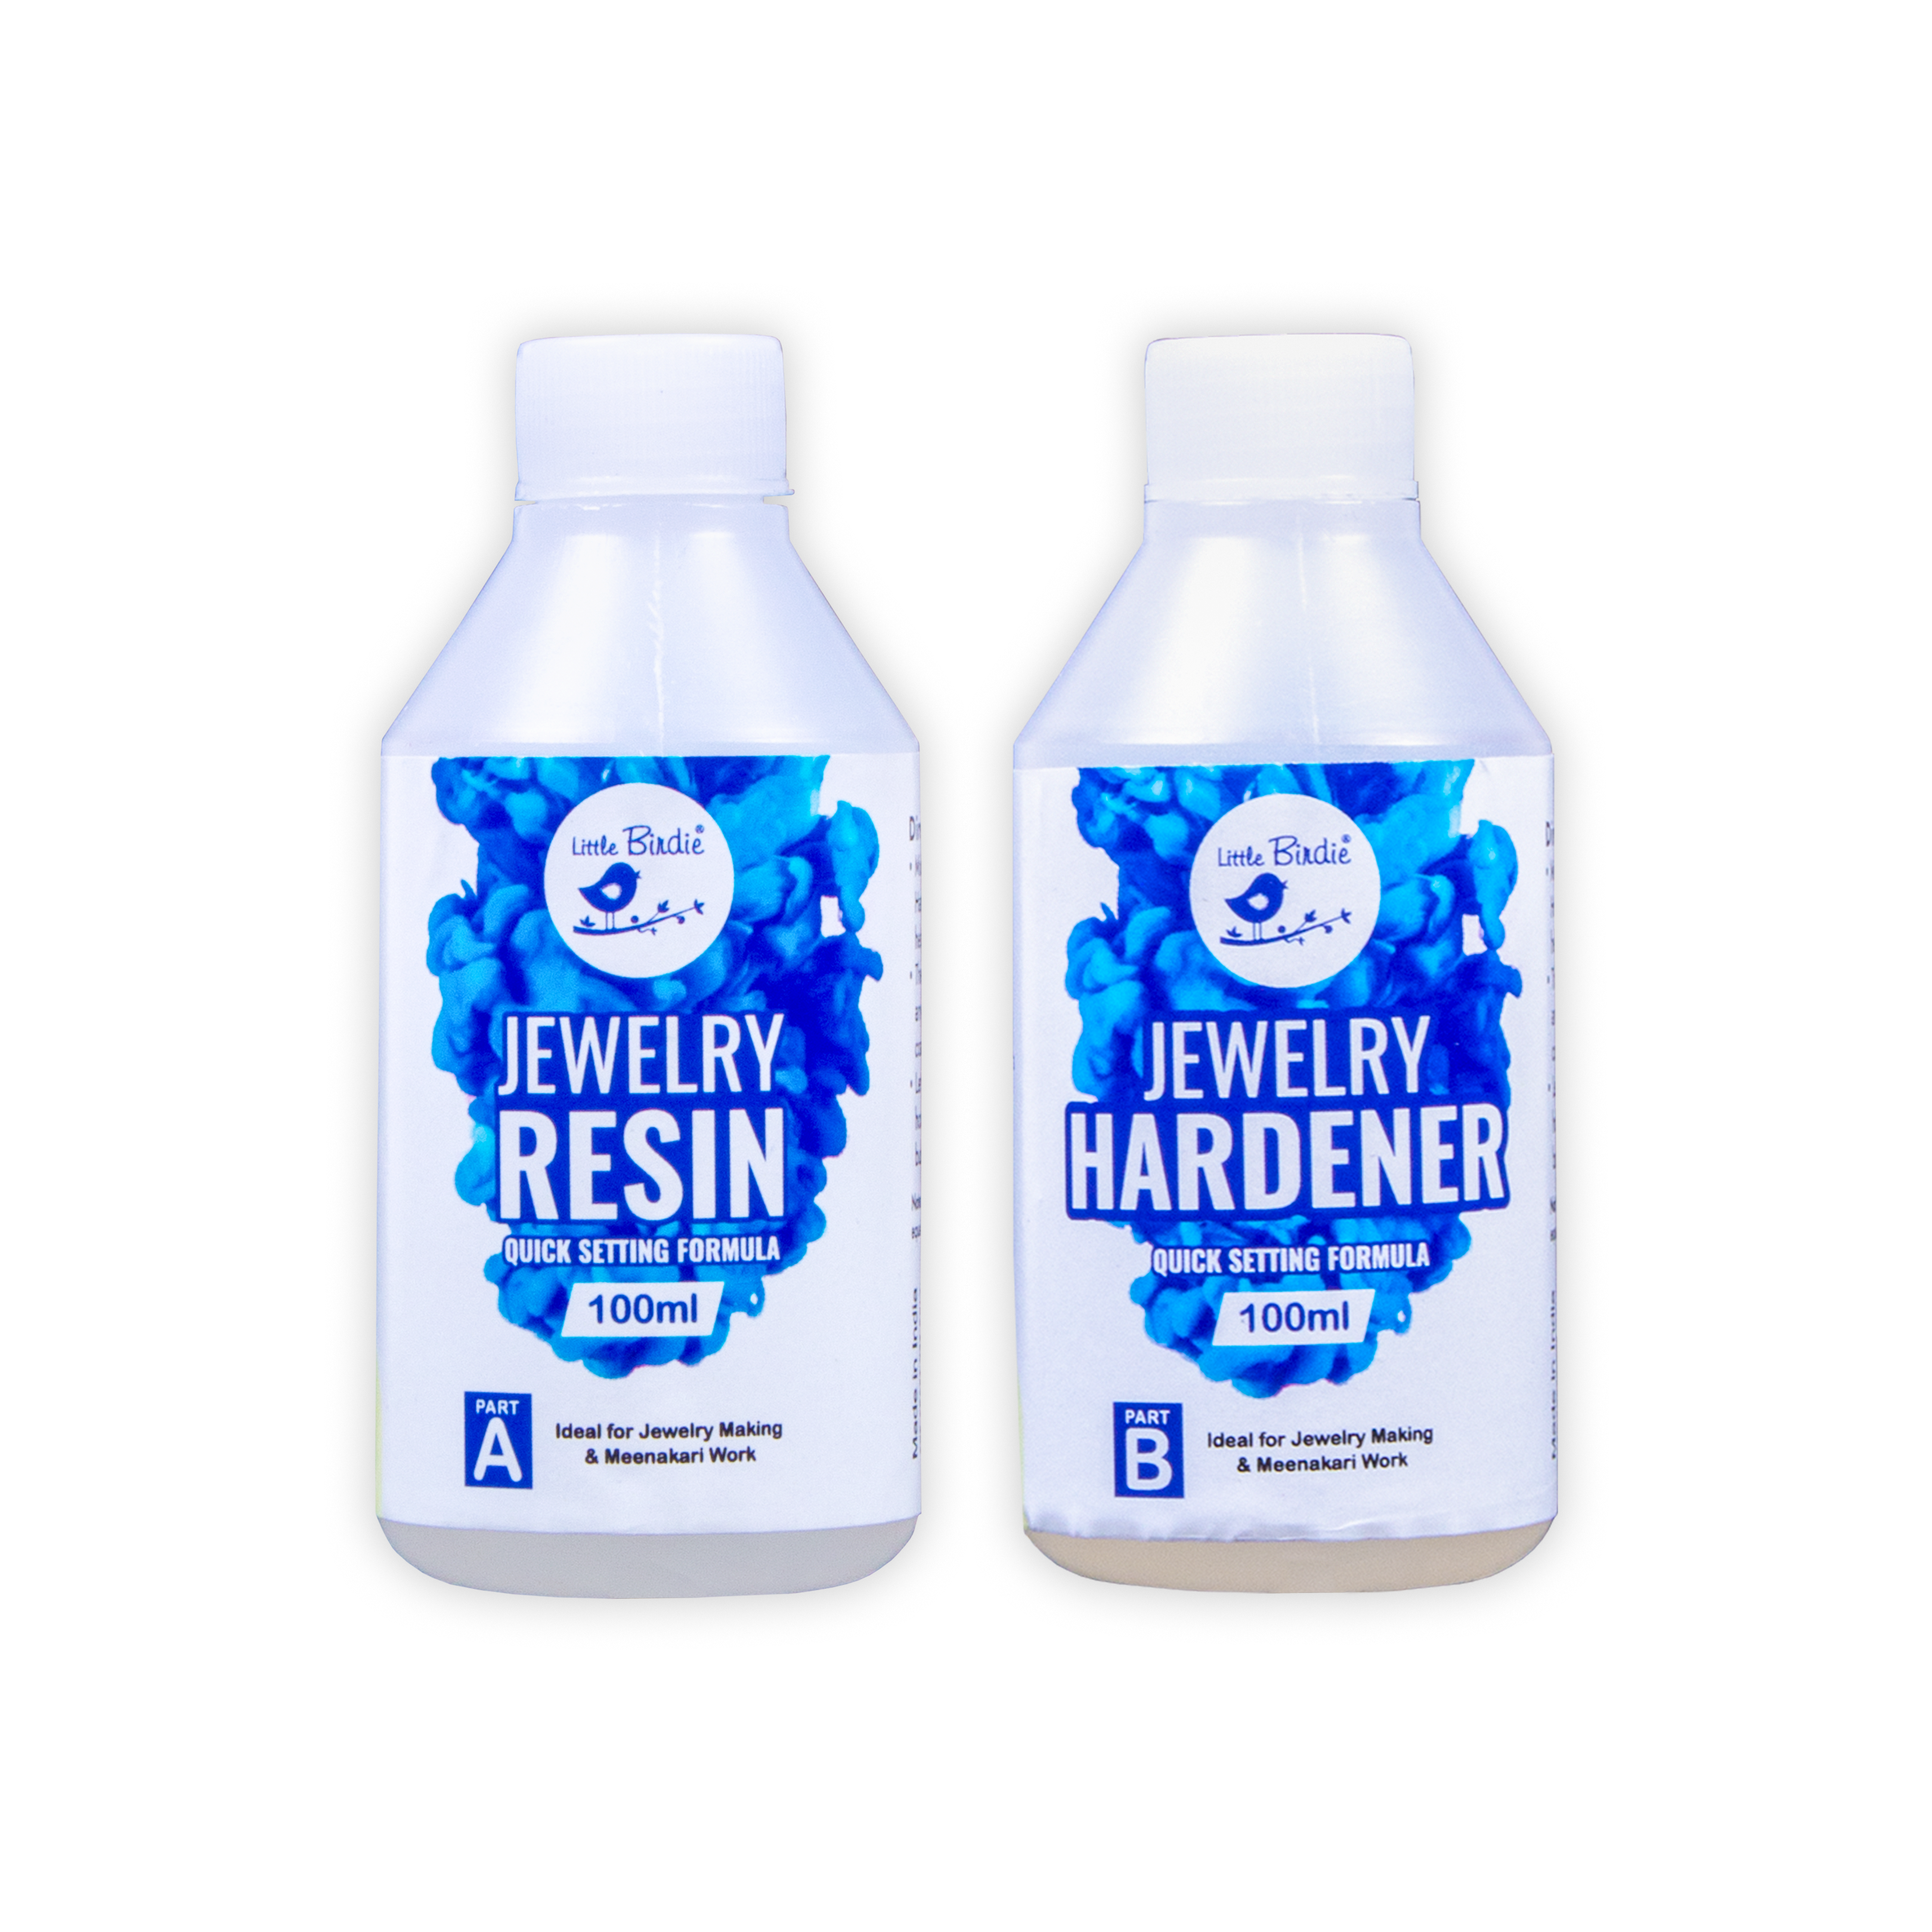
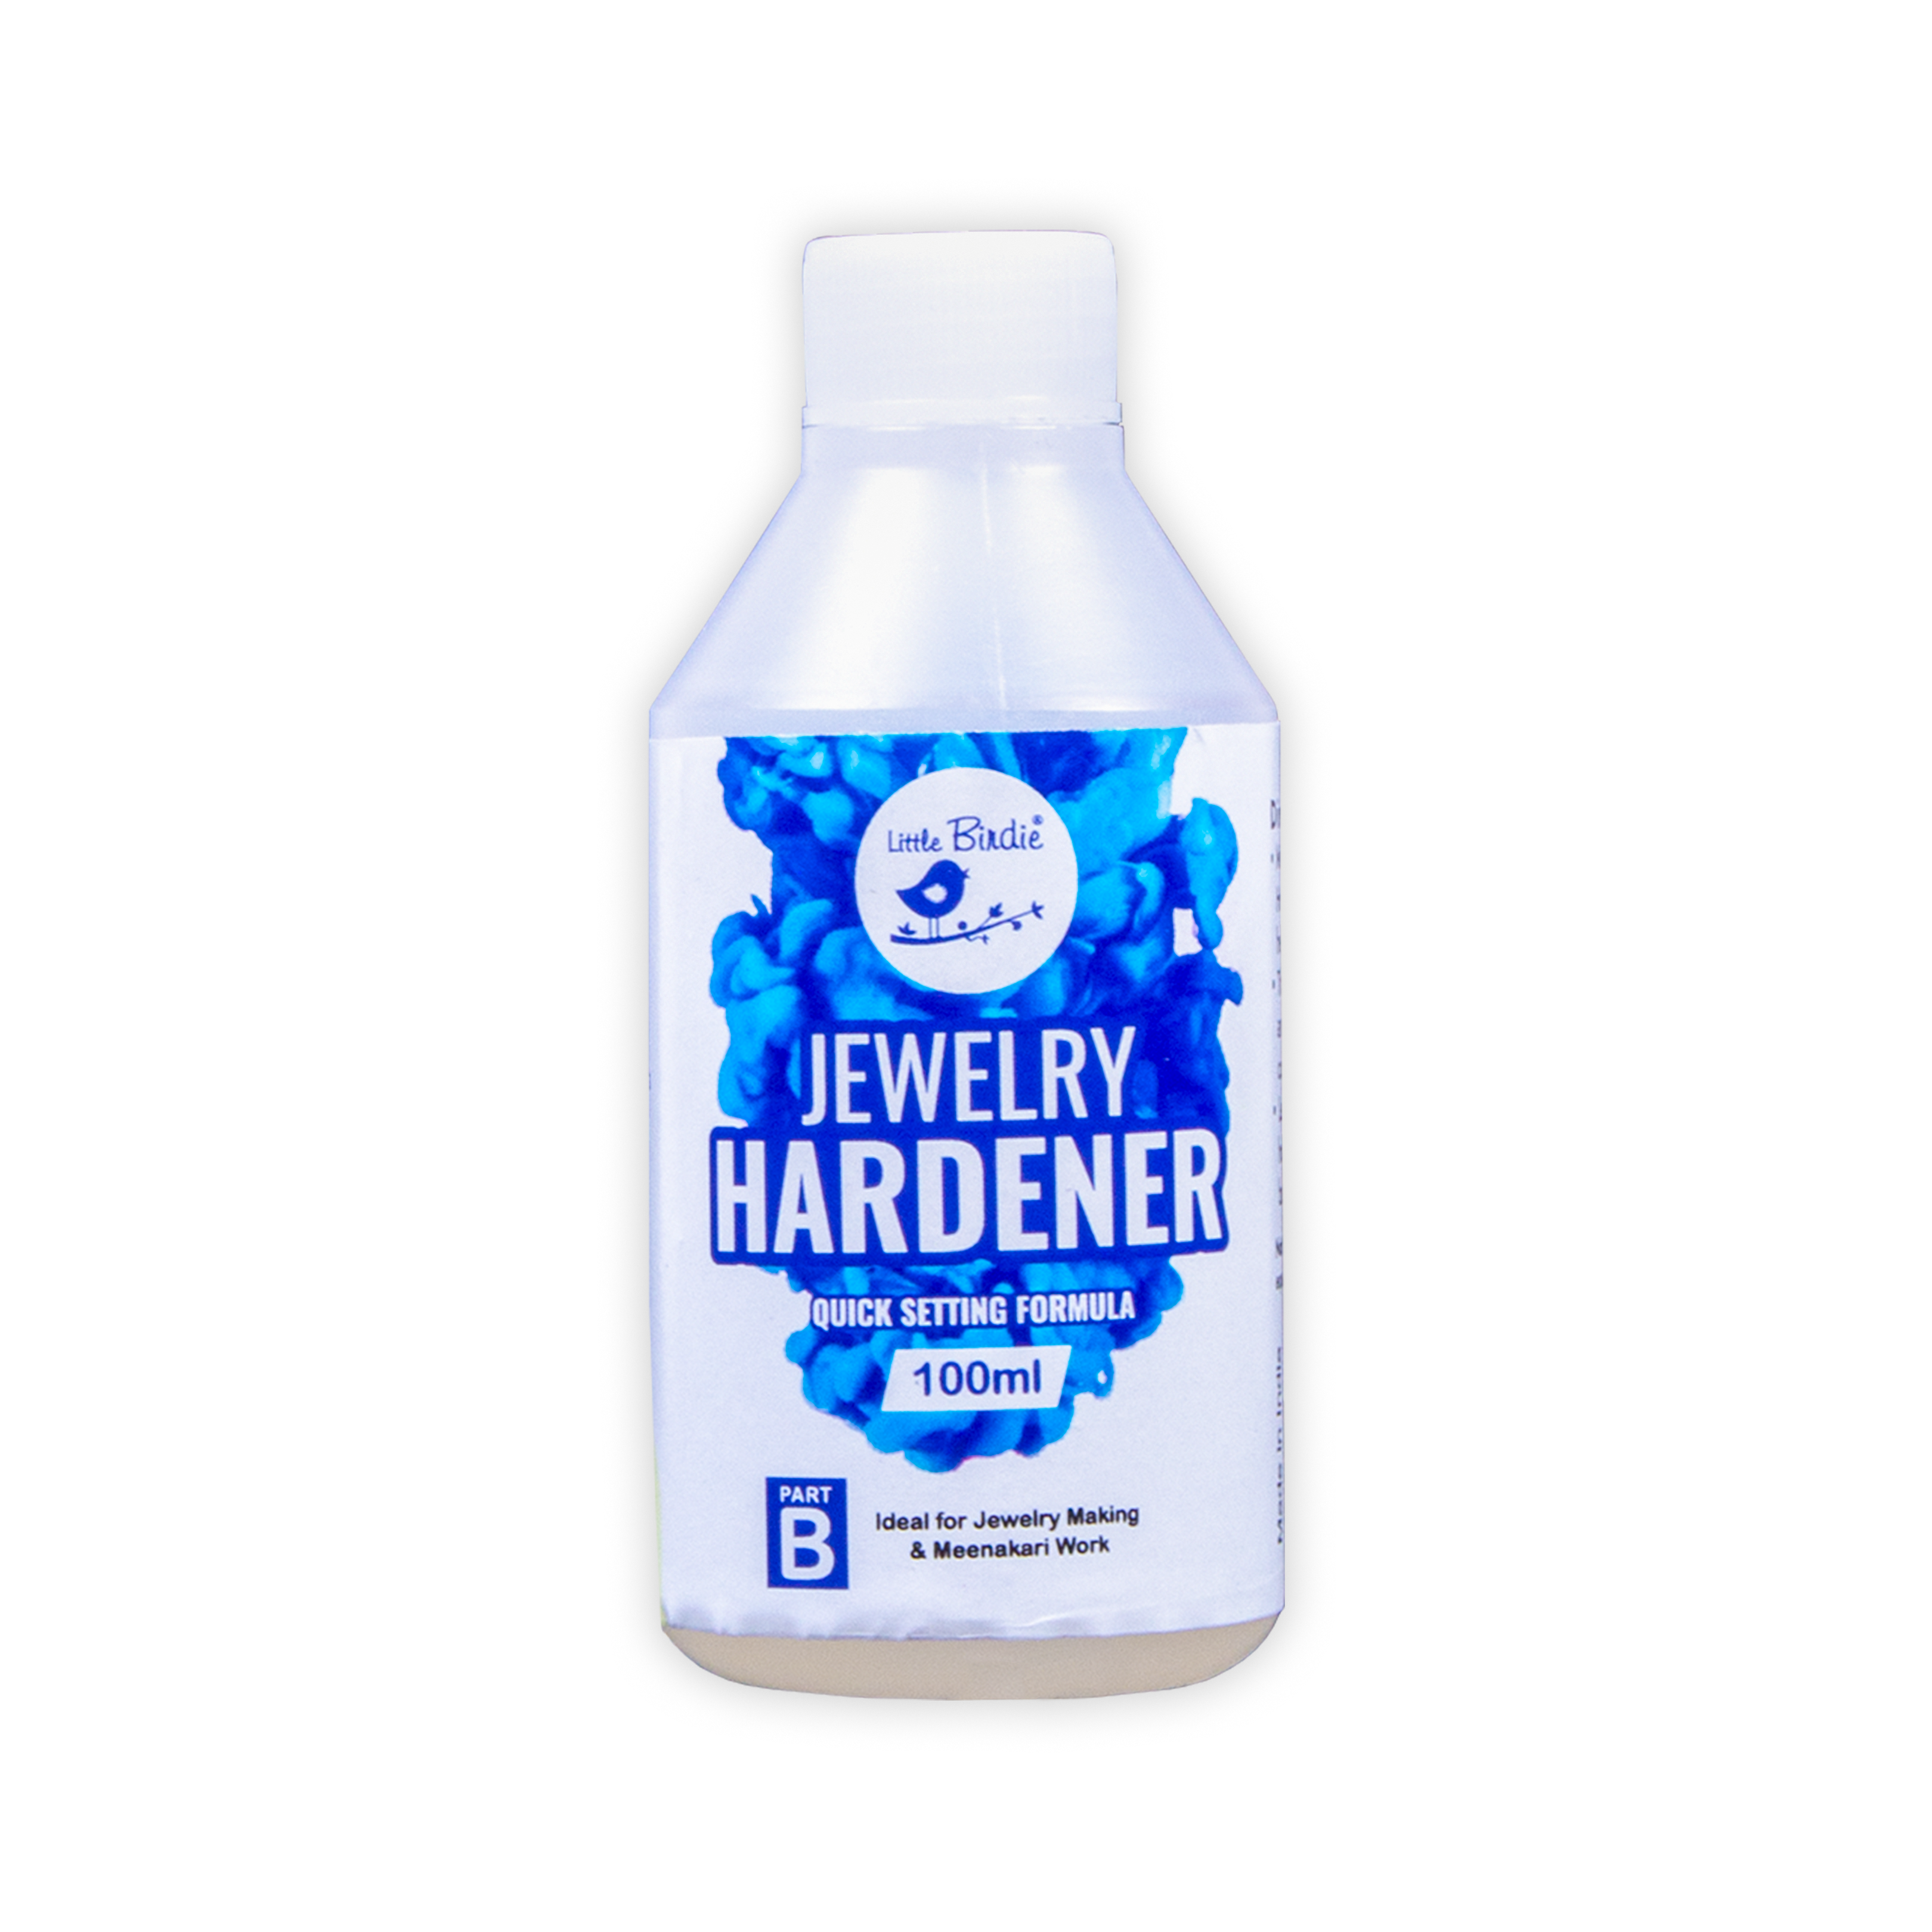
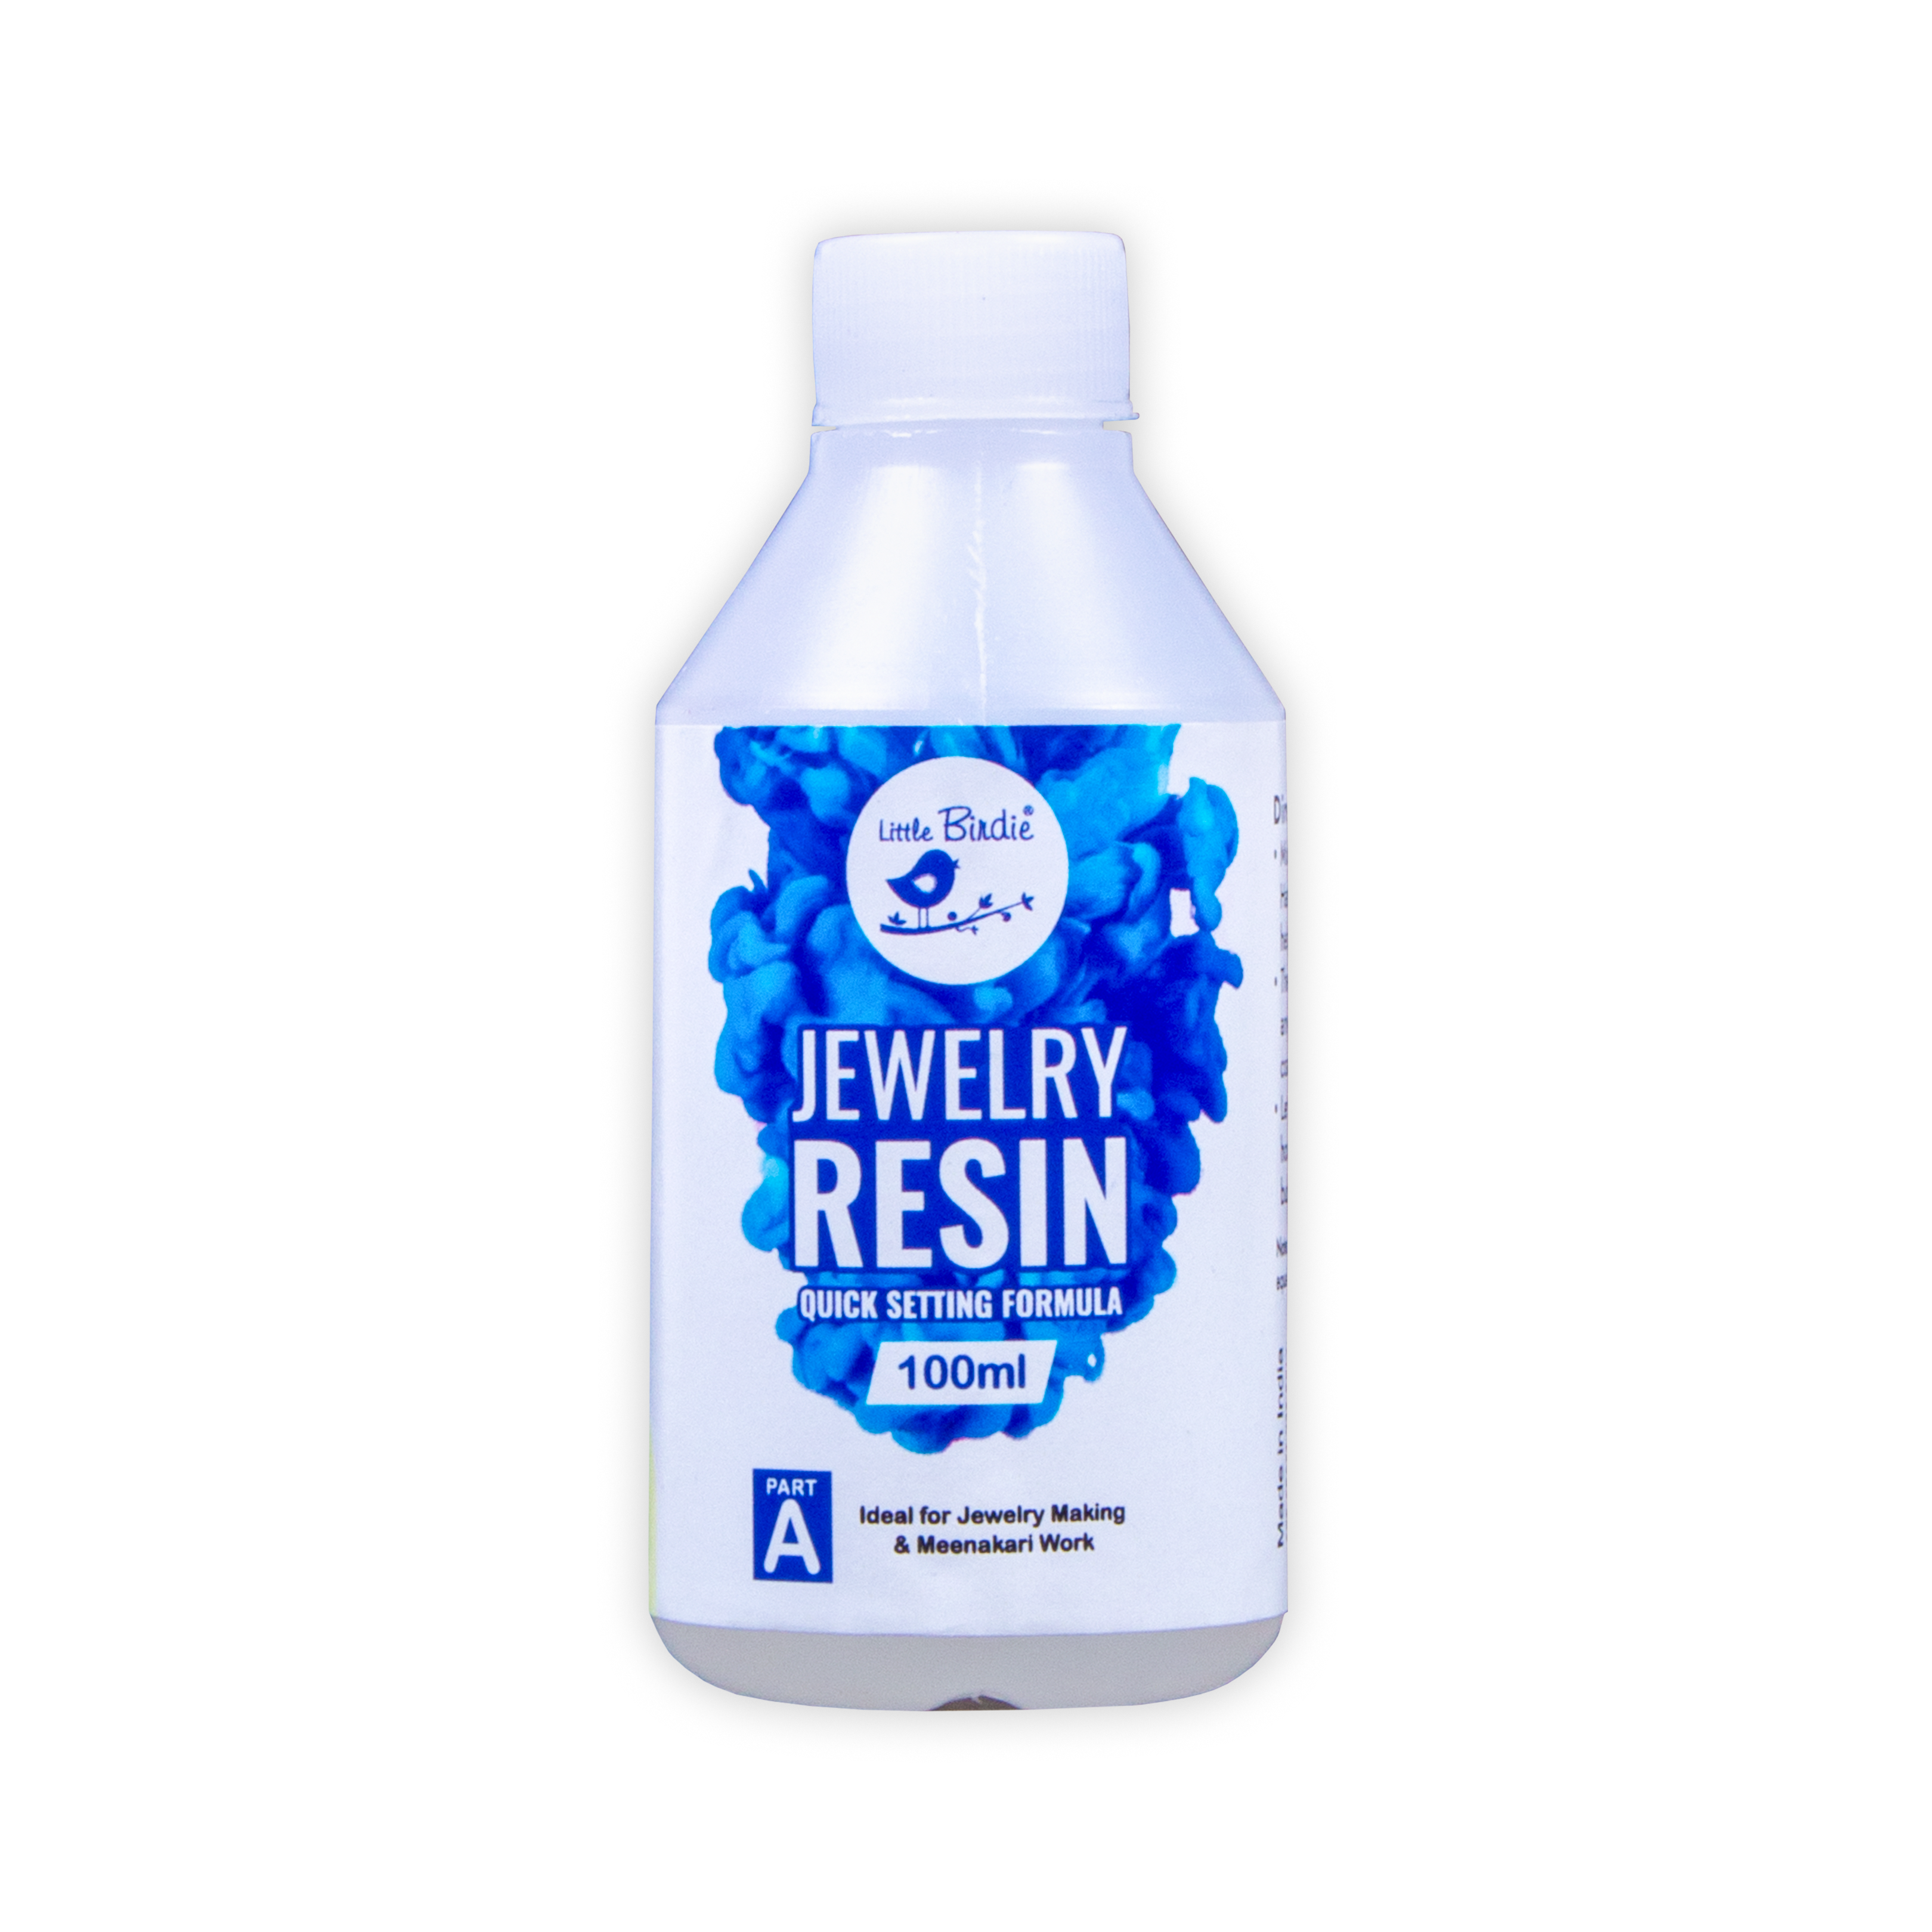
Resin And Hardener Transparent 200ml Bottle
IBJE36237
- This craft resin & hardener is ideal for jewellery making, dome stickers, dome embellishments and to coat wooden furniture for sheen & protection.
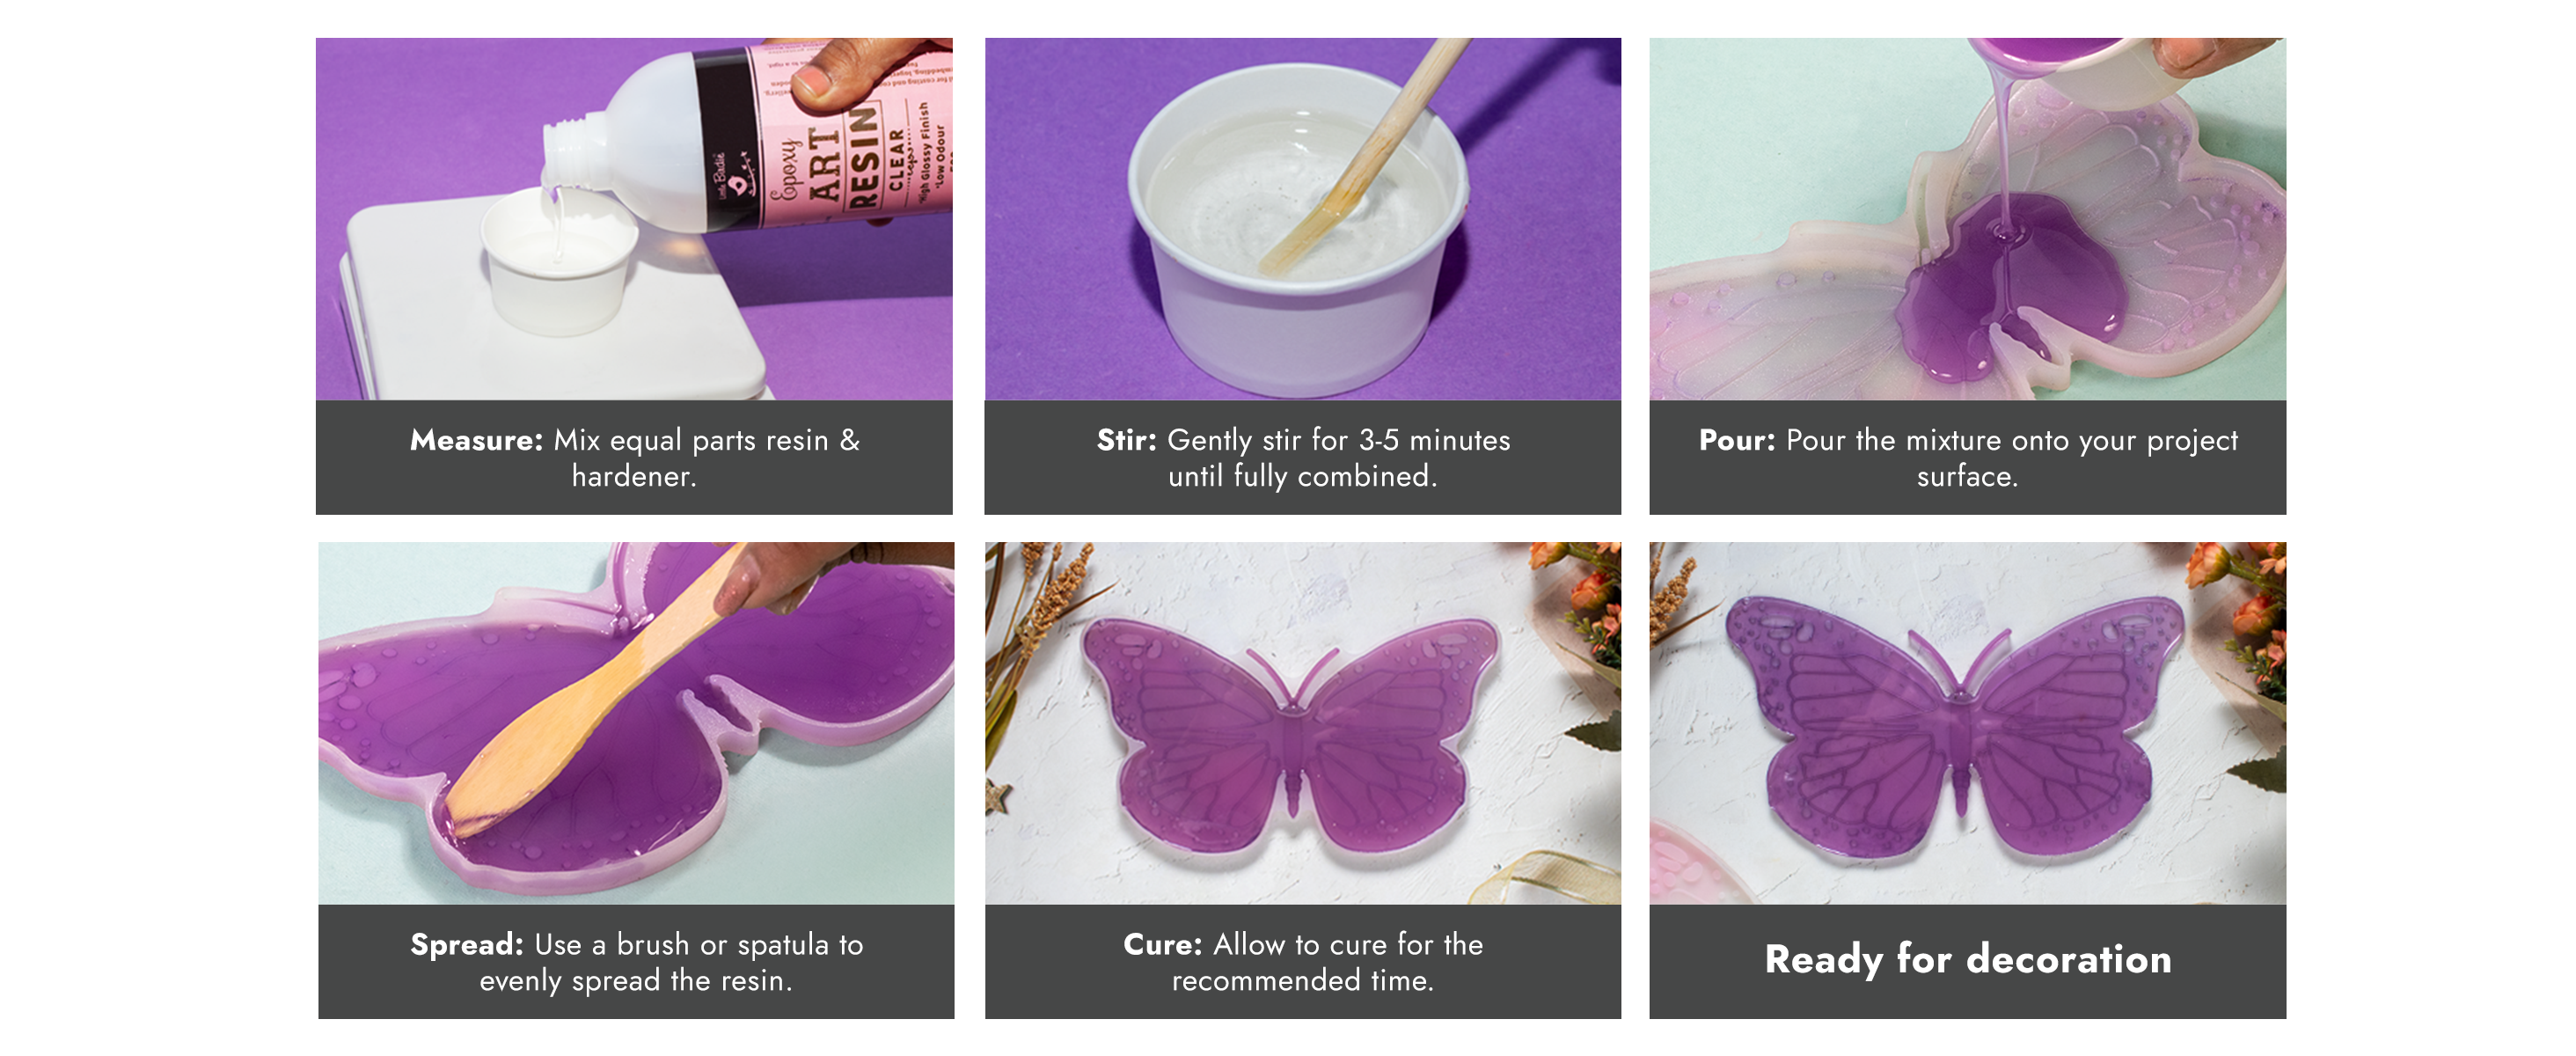
- It is water resistant when dry and gives a glossy finish to your projects. Procedure - To make a resin embellishment, mix the craft resin with craft hardener in 1:1 ratio with the help of a wooden stick.
- Then pour the mixed solution in any mould of your choice.
- Let your project sit for about 30 minutes making sure there are no bubbles. Your resin embellishment is ready.
Using a 1:1 epoxy resin refers to the mixing ratio of the resin and hardener, where you use equal ratio of resin and hardener. Here's a step-by-step guide on how to use a 1:1 epoxy resin:
Prepare Your Workspace:
Choose a well-ventilated, clean, and dust-free workspace. Protect the surface with a disposable cover or use a dedicated work area.
Wear Protective Gear:
Put on gloves and safety glasses to protect your skin and eyes from any potential contact with the resin.
Measure Resin and Hardener:
Use measuring tools to measure the epoxy resin and hardener in the correct 1:1 ratio. For example, if you have 50 grams of resin, you'll need 50 grams of hardener.
Pour Resin into Mixing Cup:
Pour the measured amount of resin into a clean mixing cup. Use a cup with clear measurement markings for accuracy.
Add Hardener:
Add the measured amount of hardener to the same mixing cup containing the resin. Ensure that you maintain the 1:1 ratio.
Mix Thoroughly:
Stir the resin and hardener mixture thoroughly. Use a spatula or stirring stick to scrape the sides and bottom of the mixing cup to ensure a complete blend. Continue stirring for the recommended time specified by the manufacturer.
Avoid Introducing Air Bubbles:
Stir slowly and avoid vigorous stirring to minimize the introduction of air bubbles. If bubbles form, let the mixture sit for a few minutes to allow them to rise to the surface.
Pour and Apply:
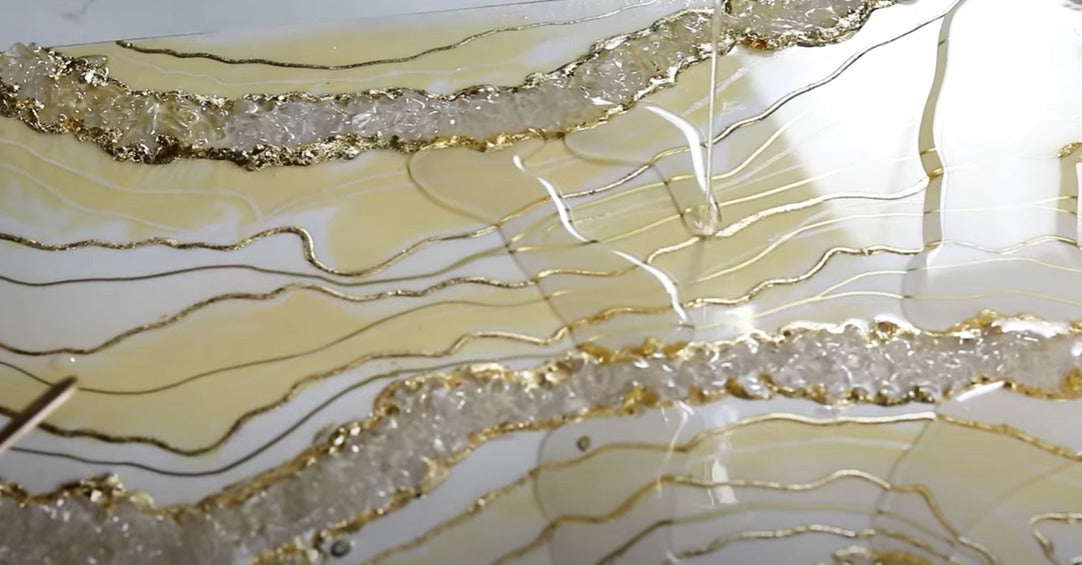
Once the resin and hardener are well-mixed, pour the mixture onto your prepared surface. Use a spatula or spreader to evenly distribute the resin.
Pop Surface Bubbles:
Use a heat gun or torch to carefully pass over the surface to pop any remaining bubbles. Alternatively, you can gently blow on the surface to release carbon dioxide and eliminate bubbles.
Allow to Cure:
Allow the epoxy resin to cure undisturbed in a dust-free environment. Follow the curing time specified by the manufacturer, and avoid touching or moving the project until it has fully cured.
Measure Accurately, Mix Thoroughly, Avoid Moisture Contamination, Use a Level Surface, Apply the resin in Thin Layers.
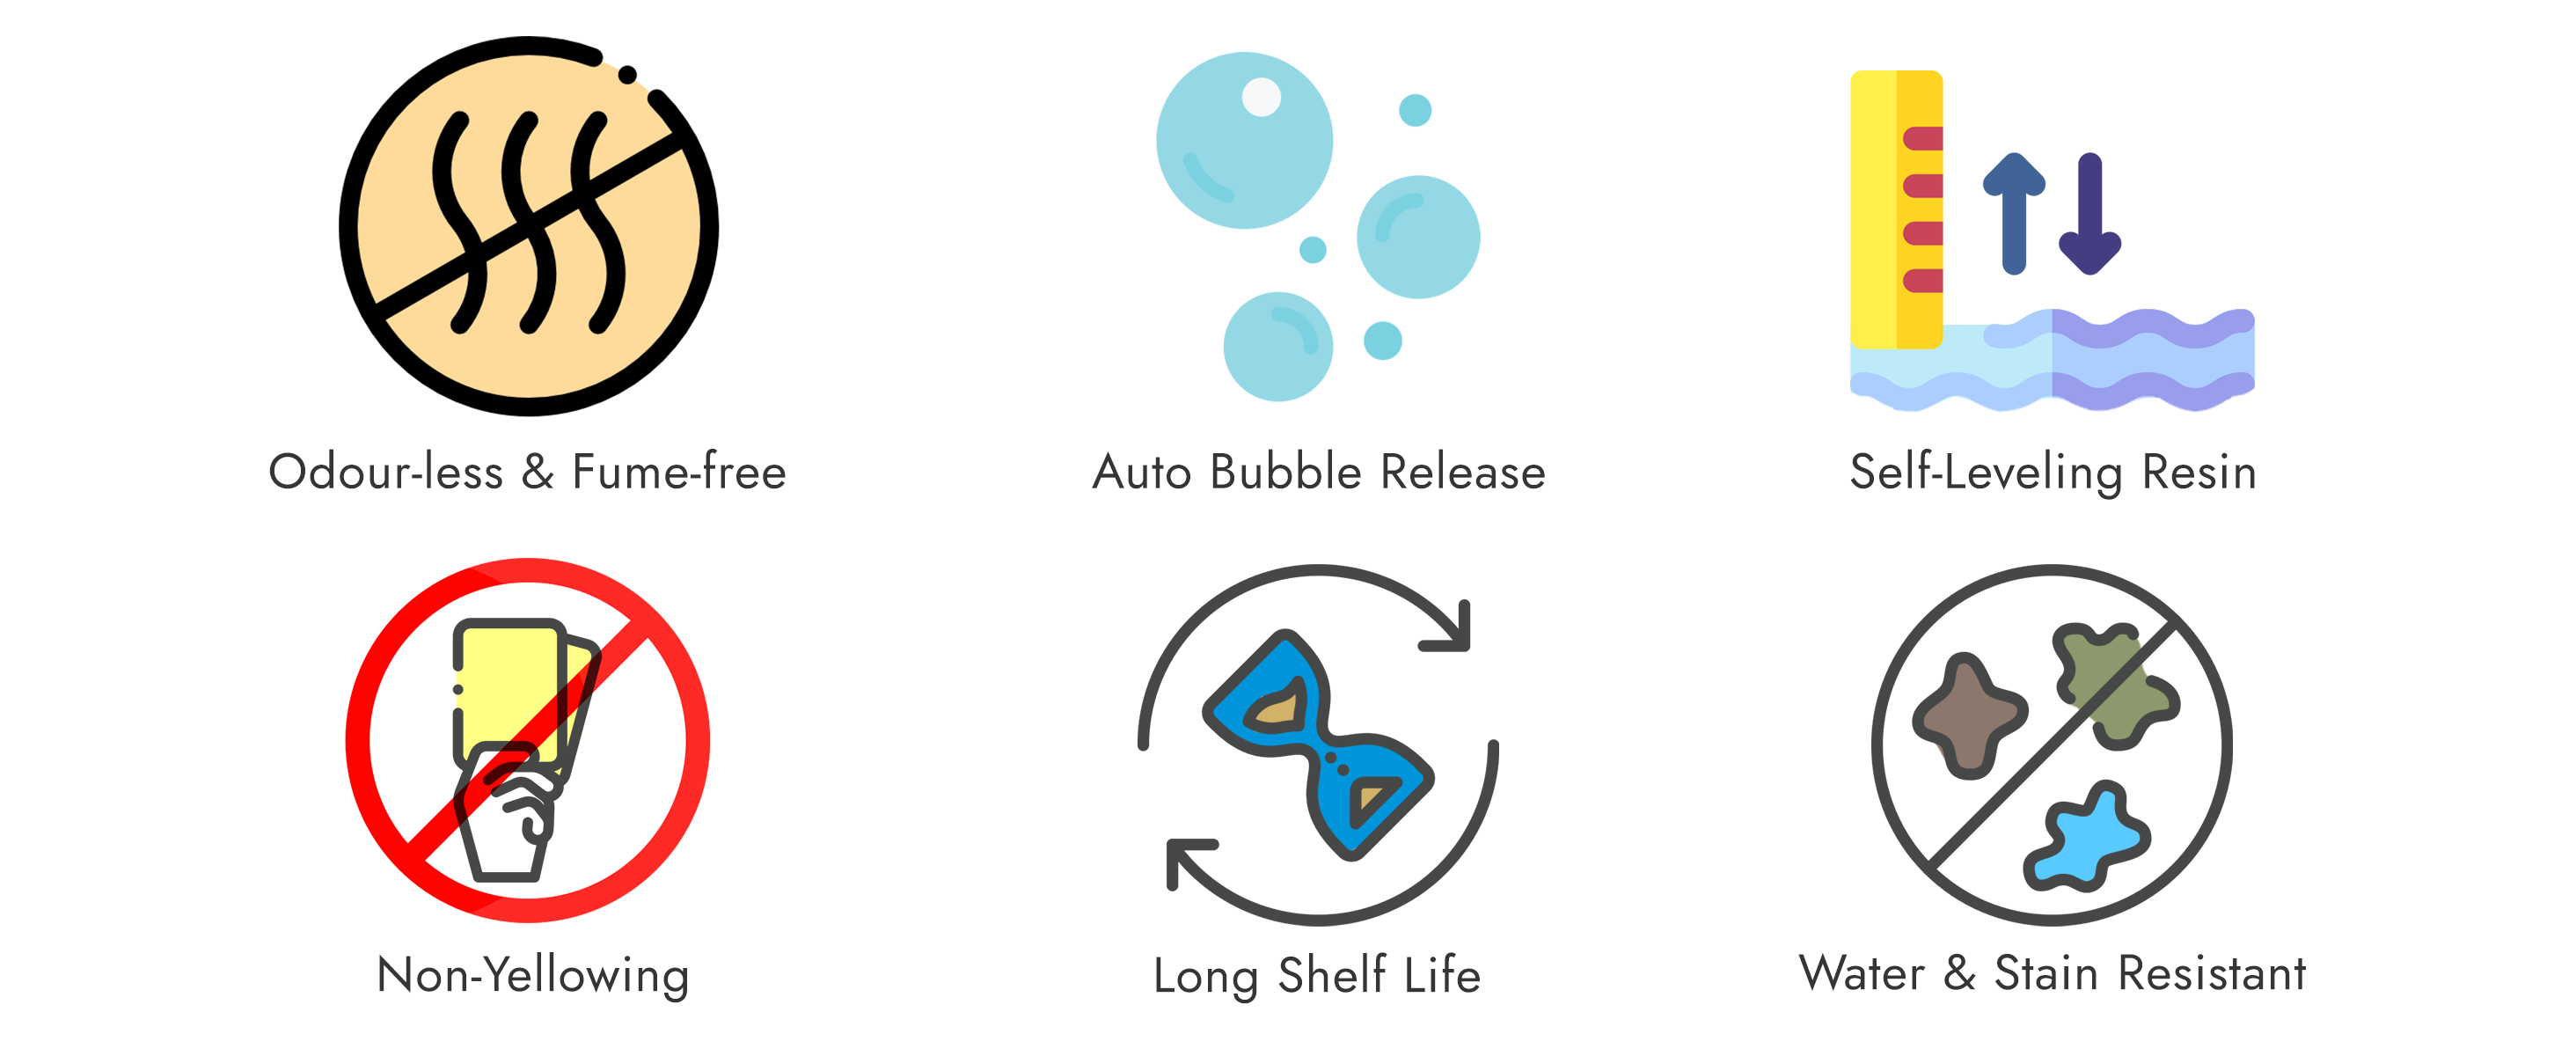
Auto Bubble Release, Self-Leveling Magic, Non-Yellowing Brilliance, Odor & Fume-Free Crafting


